


Stepping on your VR cable, feeling it pull on your wired VR headset, or stopping to untangle it can quickly ruin room-scale VR and PCVR gameplay. A loose cable breaks immersion, restricts movement, creates cable drag, and makes long gaming sessions less enjoyable. Poor VR cable management can also increase cable wear over time.
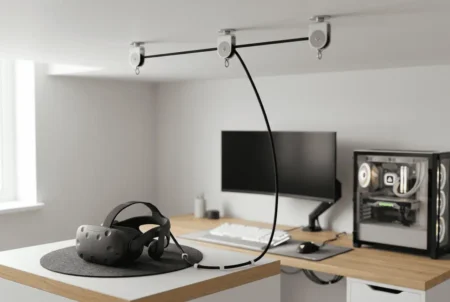
A VR cable pulley system routes the cable overhead to keep your play area clear and movement smoother. This guide covers 10 practical pulley setups for different room sizes and gaming styles, plus tips to choose the right layout and avoid common installation mistakes.
How to Choose the Right VR Cable Pulley Setup
Before installing a VR cable pulley system, take a few minutes to plan your layout. Choosing the right setup from the start will make installation easier and help the cable move naturally while you play.
Here are the four most important things to consider.
How Do You Play VR?
The type of games you play has the biggest impact on the layout you should choose.
If you mostly enjoy seated experiences like racing or flight simulators, you don’t need a complex cable route. A simple overhead setup is usually enough to keep the cable behind you.
For room-scale games where you walk, crouch, dodge, and turn frequently, you’ll need a layout that supports the cable across your entire play area. More movement usually requires better cable support.
Where Is Your PC Located?
Your cable should follow the shortest practical route from your PC to your play space.
If your computer sits beside your gaming area, a simple layout may be all you need. If it’s across the room, you’ll likely need additional pulleys to keep the cable overhead and prevent it from dragging across the floor.
A shorter, straighter cable path usually creates less friction and smoother movement.
What Type of Ceiling Do You Have?
Your ceiling determines how you’ll mount the pulley system.
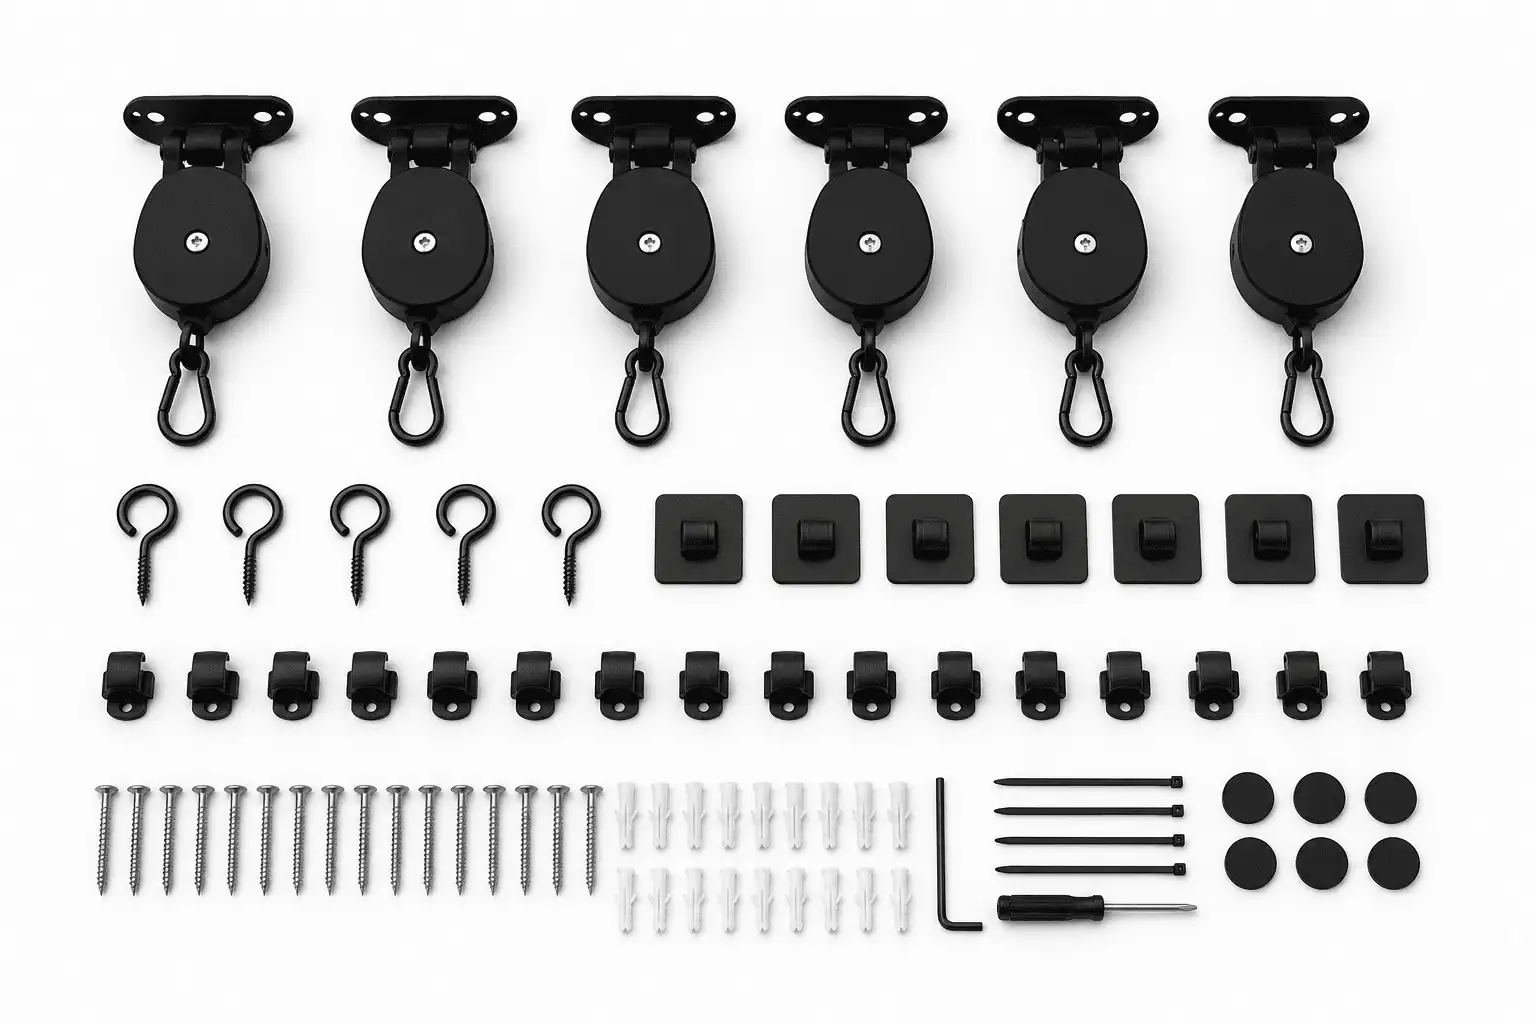
Drywall ceilings are generally the easiest to work with using the supplied hardware. Concrete ceilings require suitable anchors, while renters may prefer removable adhesive hooks to avoid drilling permanent holes.
Choosing the right mounting method before you begin can save time and make future adjustments much easier.
Are There Any Obstacles Above You?
Before attaching anything to the ceiling, check for objects that could interfere with the cable route.
Look for:
- Ceiling fans
- Light fixtures
- Smoke detectors
- Air vents
- Exposed beams
Planning around these obstacles now is much easier than relocating pulleys after installation.
A few minutes of planning can make a big difference in how your VR cable pulley system performs.
What Makes a Good VR Cable Pulley Setup
A good VR cable pulley setup isn’t about using the most pulleys. It’s about keeping the cable moving naturally without pulling on your headset or getting in your way.
These four simple principles can make a big difference.
Balanced Cable Tension
The cable should stay overhead without feeling too tight or too loose. Balanced tension allows natural movement while preventing cable drag.
If the headset feels like it’s being pulled backward, reduce the tension. If the cable hangs too low, tighten it slightly.
Enough Cable Slack
Leave enough slack to turn, crouch, and reach comfortably. Too little limits movement, while too much can create loops that get in the way.
Adjust the slack until the cable follows your movement without touching your shoulders or the floor.
Even Pulley Placement
Evenly spaced pulleys help the cable move smoothly across your play area. They also reduce friction and spread the cable’s weight more evenly.
Avoid placing several pulleys too close together, as this can restrict cable movement.
A Direct Cable Route
Keep the cable route as short and straight as possible. Fewer bends reduce friction and improve pulley performance.
A simple cable path also helps reduce wear on the headset cable over time.
10 Popular VR Cable Pulley Layouts
The best VR cable pulley setup depends on your room size, PC location, and the type of VR games you play. While some layouts are perfect for seated simulators, others provide better cable support for room-scale gaming.
Below are 10 practical VR cable pulley system setups that can help reduce cable drag, improve movement, and create a cleaner play area. Choose the one that best matches your gaming space and installation needs.
1. Single Center Pulley Layout
A Single Center Pulley Layout uses one ceiling-mounted pulley above your play position. It keeps the cable off the floor and reduces cable drag.
This setup is ideal for seated VR, simulators, or small play areas where you stay in one spot. It may not provide enough support for room-scale games.
Mount the pulley above your primary position and test your movement before installing it permanently.
2. Three Pulley Triangle Layout
The Three Pulley Triangle Layout uses three pulleys to keep the cable centered as you move. It provides a good balance between freedom of movement and easy installation.
It’s a great choice for room-scale VR and medium-sized play areas. The cable follows your movement more naturally with less sideways pull.
Place one pulley above your play area and two slightly behind to create a wide triangle.
3. Five Pulley Room-Scale Layout
A Five Pulley Room-Scale Layout supports the cable across a large play area. It keeps the cable overhead during fast movement and frequent turns.
This layout is best for active VR games where you move around a lot. It requires more ceiling space and careful pulley placement.
Space the pulleys evenly and keep the cable route as straight as possible.
4. Straight Ceiling Cable Path
A Straight Ceiling Cable Path routes the cable directly from your PC to the center of your play space. Fewer bends help the cable move more smoothly.
This setup works best when your PC is close to the play area. It also creates a cleaner and more organized cable route.
Choose the shortest practical path and avoid sharp bends near the headset.
5. Cross-Room Cable Route
A Cross-Room Cable Route keeps the cable overhead when your PC is on the opposite side of the room. It removes cables from the floor and reduces trip hazards.
This layout is ideal for large rooms or longer VR cables. It takes more planning but works well when moving the PC isn’t possible.
Support long cable runs with evenly spaced pulleys for smoother movement.
6. Offset Ceiling Layout
An Offset Ceiling Layout redirects the cable toward the center of your play space. This helps reduce cable pull when your setup isn’t centered.
It’s useful for bedrooms, home offices, and rooms with desks or furniture nearby. The layout makes better use of limited space.
Adjust the first pulley until the cable feels natural while turning and reaching.
7. Adhesive Mount Layout
An Adhesive Mount Layout uses removable hooks instead of screws to hold the pulleys. It’s a simple option if you don’t want to drill into the ceiling.
This setup is popular with renters and apartment users. It works best with lightweight VR cables.
Clean the ceiling first and let the adhesive cure before hanging the pulleys.
8. Extended Drop Layout
An Extended Drop Layout adds a lower support point for rooms with high ceilings. This reduces cable sway and keeps movement more controlled.
It’s best for basements, lofts, and rooms with ceilings above nine feet. Standard ceiling heights usually don’t need this setup.
Use one extra drop point instead of adding unnecessary pulleys.
9. Seated VR Layout
A Seated VR Layout keeps the cable above or behind your chair. It prevents the cable from resting on your shoulders while you play.
This setup is perfect for racing, flight, and driving simulators.
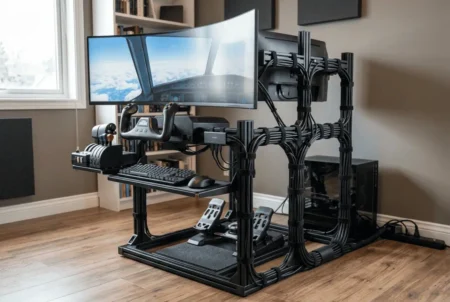
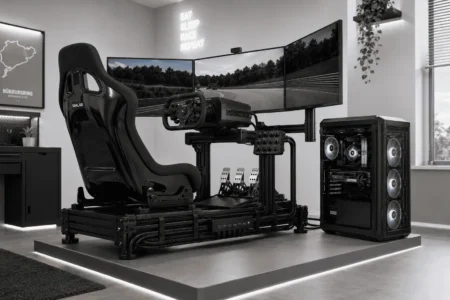
If you use a dedicated racing cockpit, our sim racing rig cable management ideas can help organize your wheel, pedals, USB devices, and power cables.
One or two pulleys are usually enough.
Keep the cable clear of your chair, pedals, steering wheel, or other controls.
10. Hybrid Wall and Ceiling Layout
A Hybrid Wall and Ceiling Layout routes the cable along the wall before lifting it overhead. It helps when ceiling obstacles block a direct route.
This setup works well in bedrooms, home offices, and multi-purpose gaming rooms. It combines wall clips with ceiling pulleys for better cable management.
Secure the wall section neatly before routing the cable over your play area.
How to Adapt a VR Cable Pulley Setup to Your Room
The best VR cable pulley setup isn’t always the one with the most hardware. In many cases, small adjustments to an existing layout can produce better results than starting over.
Small Bedrooms
Limited space doesn’t mean you need a complicated setup. One to three pulleys are usually enough to keep the cable overhead while avoiding wardrobes, shelves, ceiling lights, and other furniture. Focus on creating the shortest practical cable route rather than adding extra pulleys.
Apartments and Rental Homes
If you can’t drill into the ceiling, choose removable adhesive hooks designed for lightweight loads. They allow you to install and remove the pulley system with little or no permanent damage, making them a popular option for renters.
High Ceilings
Rooms with high ceilings often benefit from an extended drop point to reduce cable sway. Instead of installing several extra pulleys, use one additional support point to shorten the unsupported section of cable.
Concrete Ceilings
Concrete ceilings require appropriate anchors instead of standard drywall hardware. Using the correct mounting method creates a stronger installation and helps keep the pulley system secure over time.
No matter what room you play in, testing the cable route before permanently mounting the pulleys is one of the easiest ways to improve comfort and avoid unnecessary adjustments later.
Common VR Cable Pulley Setup Mistakes
Even a good VR cable pulley system won’t perform well if it’s installed incorrectly. Avoid these common mistakes to enjoy smoother cable movement and a more comfortable VR experience.
Mounting the First Pulley Too Far Away
If the first pulley is too close to your PC, the cable may pull from one side instead of following your movement. Position it so the cable is directed toward the center of your play area for smoother movement.
Leaving Too Much Cable Slack
Too much slack can cause the cable to hang behind you, brush against your shoulders, or form loops that get in the way. Leave only enough cable to turn, crouch, and reach comfortably.
Making the Cable Too Tight
A cable that’s too tight can pull on your headset and make movement uncomfortable. Adjust the tension until you can move naturally without feeling the cable tug.
Ignoring Ceiling Obstacles
Ceiling fans, light fixtures, air vents, and exposed beams can interfere with the cable route. Plan the layout around these obstacles before installing the pulleys.
Skipping a Test Fit
Don’t mount the pulleys permanently without testing the layout first. Use painter’s tape or removable hooks to check the cable path, then make small adjustments before final installation.
Things to Check Before Installing
Before mounting your VR cable pulley system, take a few minutes to check everything one last time. A quick inspection can help you avoid unnecessary adjustments later.
- Confirm your headset cable reaches every part of your play area.
- Plan the shortest and straightest cable route from your PC.
- Check for ceiling fans, light fixtures, vents, or other obstacles.
- Choose mounting hardware that matches your ceiling type.
- Test the pulley positions with painter’s tape or removable hooks before drilling.
These simple checks can make installation easier and help your cable move smoothly during gameplay.
If your cable still gets in the way after installation, our VR headset cable management tips can help reduce cable drag, prevent tangles, and improve comfort during longer VR sessions.
Conclusion
The right VR cable pulley setup depends on your room, your PC location, and how you play. Whether you need a simple overhead layout or a full room-scale setup, careful placement matters more than using extra pulleys. Pick a layout that fits your space, test it before mounting everything permanently, and make small adjustments until the cable moves smoothly without getting in your way.
FAQs
Do VR cable pulley systems work with any wired VR headset?
Yes. Most VR cable pulley systems are compatible with wired headsets as long as the cable fits the pulley clips. They work with popular headsets such as Meta Quest Link, Valve Index, HTC Vive, Bigscreen Beyond, and PSVR2 on PC.
How many pulleys do I need for a VR cable pulley system?
That depends on your play area and gaming style. One or two pulleys are usually enough for seated VR, while room-scale setups often perform best with three to five pulleys to provide smoother cable support.
Can a VR cable pulley system damage my headset cable?
No. When installed correctly, a pulley system actually helps reduce cable wear by keeping the cable supported, preventing sharp bends, and reducing repeated twisting during gameplay.
Can I remove a VR cable pulley system without damaging my ceiling?
Yes. If you use removable adhesive hooks, you can usually remove the system without leaving permanent marks. Screw-mounted installations may leave small holes, but these are generally easy to patch if you remove the system later.
Is a VR cable pulley system better than using a wireless VR headset?
They solve different problems. A wireless headset removes the cable entirely, while a VR cable pulley system improves cable management for wired PCVR users who want reliable performance, low latency, and consistent image quality without replacing their existing headset.