


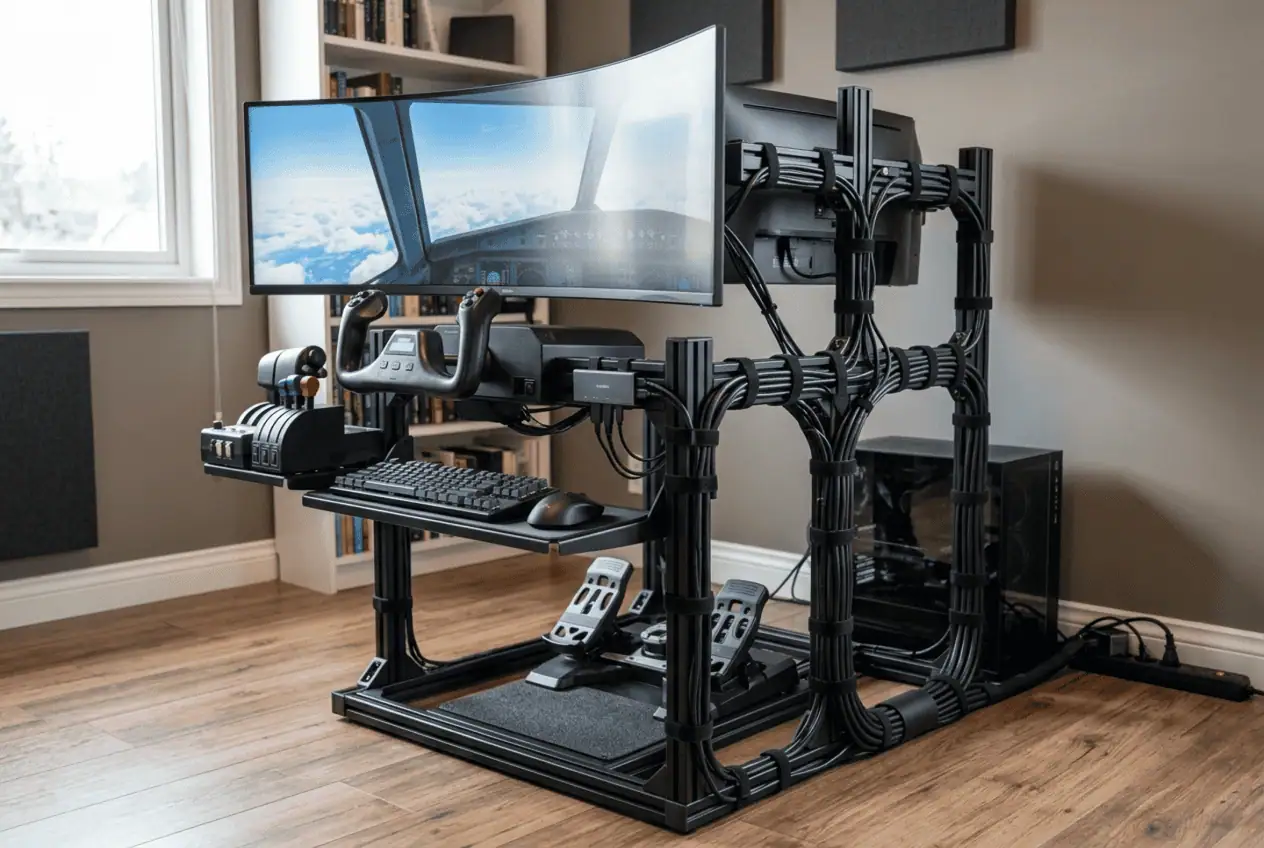
Flight simulator cable management can become difficult fast. A yoke, HOTAS, throttle, rudder pedals, USB hub, displays, headset, and power adapters can leave cables across the desk or floor.
The fix is to give each device a clear cable path. Keep USB connections and power sources in useful locations, secure cables along the desk or cockpit, and leave enough slack for controls that move.
The best flight simulator cable management setup keeps the USB hub and power strip close to the main controls, routes yoke, HOTAS, throttle, and pedal cables along the desk or cockpit frame, and keeps cables away from feet and moving parts. Leave small service loops where controls move, use removable cable clips or Velcro, and keep important connections easy to reach.
15 Flight Simulator Cable Management Fixes
1. Mount the USB Hub Near Your Flight Controls
A USB hub can reduce long USB cable runs between your flight controls and PC.
Place it close to devices such as a yoke, HOTAS, throttle, button box, or flight panel. Under the desk works well for a desk setup, while the side or rear of a cockpit can work better for a dedicated rig.
An externally powered USB hub can help when you have many USB devices. However, some main flight controls may work better when connected directly to the PC. If a device disconnects through the hub, test it directly from the PC before changing the whole cable layout.
Keep the hub easy to reach so you can add, remove, or test a device without pulling apart the cable bundle.
2. Keep Rudder Pedal Cables Off the Floor
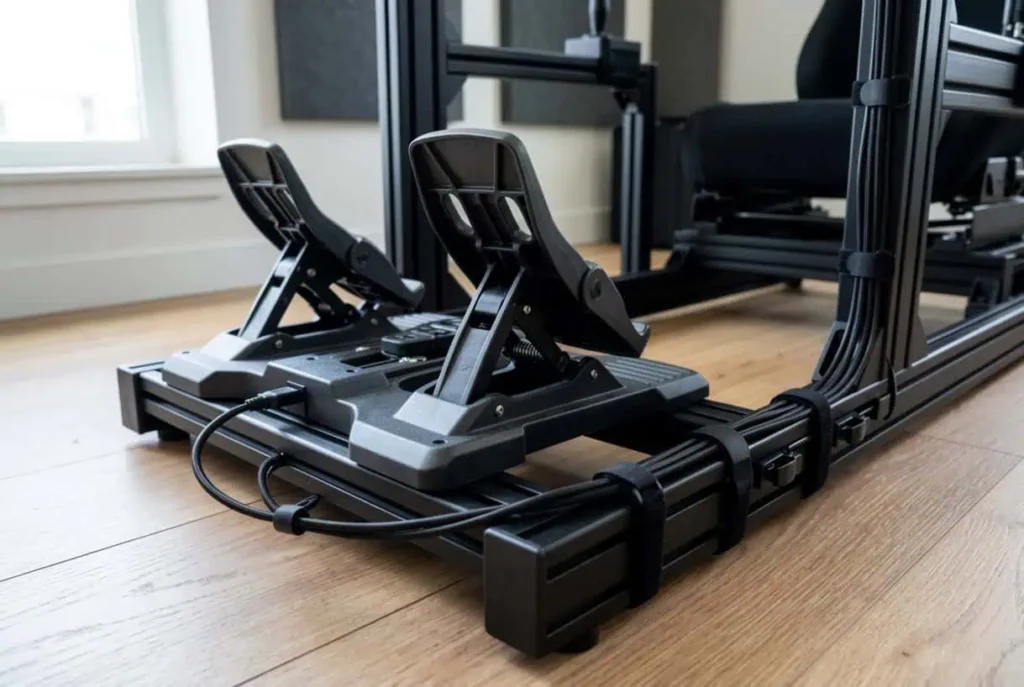
Rudder pedal cables should stay away from the area where your feet move.
Route the cable behind the pedal base or along the side of the cockpit. Secure it before it reaches the foot area.
Leave enough slack for normal pedal adjustment. Keep the USB connector away from foot contact and avoid trapping the cable under the pedal assembly.
If the cable must travel a longer distance, support it along the cockpit frame or under the desk instead of leaving it loose on the floor.
3. Route Yoke and HOTAS Cables Behind the Setup
Yoke and HOTAS cables should leave the control area from the rear or side.
Avoid letting a cable hang in front of the control. It can catch on your hand or interfere with another control.
Run the cable along the back edge of the desk or cockpit. Secure it at a few points instead of tying the full length into one tight bundle.
For a HOTAS setup, keep the joystick and throttle cables close to their mounts before sending them toward the USB hub or PC.
4. Give the Throttle Cable Its Own Route
Throttle cables often sit close to the user’s hands.
Keep the cable behind or beside the throttle mount. If the throttle can move, leave a small loop near the moving point.
Do not pull the cable tight. A tight cable can put stress on the USB connector when the throttle position changes.
If the throttle mount can slide or adjust, test its full movement before securing the cable.
5. Leave a Small Service Loop for Moving Controls
A service loop is a small amount of extra cable near a moving device.
Use one for a movable yoke, throttle, joystick mount, monitor arm, or other adjustable hardware.
The loop should be small and supported. A large hanging loop creates more clutter and gives the cable more places to catch.
The goal is controlled slack, not zero slack.
6. Secure Cables Along the Cockpit Frame
A dedicated flight simulator cockpit gives you useful places to secure cables.
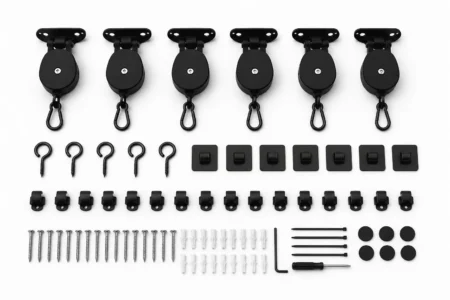
Use Velcro straps, cable clips, adhesive mounts, or accessible mounting points along the frame. For aluminum-profile cockpits, T-slots and profile clips can provide useful cable routes.
Keep cables close to the frame and away from your legs, feet, and moving controls.
Use removable cable supports on devices that you may change later. This makes it easier to add or remove a throttle, panel, button box, or other flight control.
7. Use an Under-Desk Cable Tray for a Desk Setup
A desk-based flight simulator does not need a full cockpit frame to stay clean.
An under-desk cable tray can hold the main USB cables, display cables, and electrical leads. Run the device cables toward the tray instead of letting them drop to the floor.
Keep frequently used USB connections easy to reach. Hide the cables, but do not hide the ports so well that every device change becomes difficult.
A desk grommet can also help move cables from the top of the desk to the rear without leaving cables hanging over the edge.
8. Keep Power Adapters and the Power Strip Off the Floor
Power adapters can create a second cable mess below your desk.
Place the power strip and larger power adapters in one fixed area. An under-desk mount, cable tray, or suitable cockpit frame location can keep them off the floor.
Keep adapters supported and allow normal airflow around them. Do not cover their vents or pack them into a tight enclosed space.
Leave enough room to unplug an adapter without moving the whole setup.
9. Bundle Cables by Destination
Do not put every flight simulator cable into one large bundle.
Group cables by where they go:
- Yoke cables
- HOTAS cables
- Throttle cables
- Pedal cables
- Display cables
- USB hub cables
- Electrical cables
- Audio cables
This makes the setup easier to change later. It also helps you find one cable without opening the entire bundle.
Use separate small bundles instead of one large bundle that contains everything.
10. Reduce Excess Cable Length Without Restricting Movement
Long cables can create large loops behind a flight simulator.
If a USB or display cable has much more length than the setup needs, consider a shorter cable. Keep enough length for normal control movement, hardware adjustment, and maintenance.
Do not pull a cable tight just to make the setup look clean.
A short cable that restricts a yoke, throttle, pedal, or monitor is worse than a slightly longer cable with controlled slack.
11. Keep USB and Electrical Runs Organized
Keep USB and electrical cables organized so you can identify and service them easily.
They can share the same general cable route, but avoid putting everything into one oversized bundle. Separate cables by destination and keep important connections accessible.
This makes it easier to replace a USB cable, move a flight control, or trace an electrical connection later.
You do not need to force every cable into a separate route. The main goal is to prevent one large tangled bundle.
12. Label Important Flight Simulator Cables
Label both ends of cables that are hard to identify.
Useful labels include:
- Yoke
- Throttle
- Rudder
- HOTAS
- Button box
- MFD
- USB hub
- Monitor
- Headset
- Flight panel
This becomes especially useful when your flight simulator has many USB devices.
A label can save time when you need to disconnect one device without disturbing the rest of the setup.
13. Use Cable Sleeves on Main Runs
Cable sleeves and split loom work best on longer fixed cable runs.
Use them for groups of cables that travel from the rear of the cockpit or desk to the PC. Keep removable device cables accessible if you often change your HOTAS, throttle, panels, or other controls.
Do not sleeve every individual cable. A removable cable should stay easy to disconnect and replace.
For a dedicated cockpit, a sleeve can also keep several long cables together along the rear frame.
14. Leave Space for New Flight Controls
Leave some free space around the USB hub and main cable paths before securing the final bundle.
Keep a few mounting points available for future cables. Use removable Velcro straps on devices you may change often.
This makes it easier to add a button box, flight panel, MFD, throttle, display, head tracker, or another USB device without rebuilding the entire cable route.
A little spare routing space can save a lot of work after your next simulator upgrade.
15. Test Every Cable Before Finishing the Routing
Connect and test every device before you finish securing the cable bundle.
Check the:
- Yoke
- HOTAS
- Throttle
- Rudder pedals
- Button boxes
- Flight panels
- Displays
- Headset
- USB hub
Move adjustable controls through their normal range. Check the seat if it slides, the pedals if they adjust, and the monitor if it moves on an arm.
Make sure no cable becomes tight, catches on another part, or pulls on a connector.
Flight Simulator Cable Management for Different Setups
Desk-Based Flight Simulator
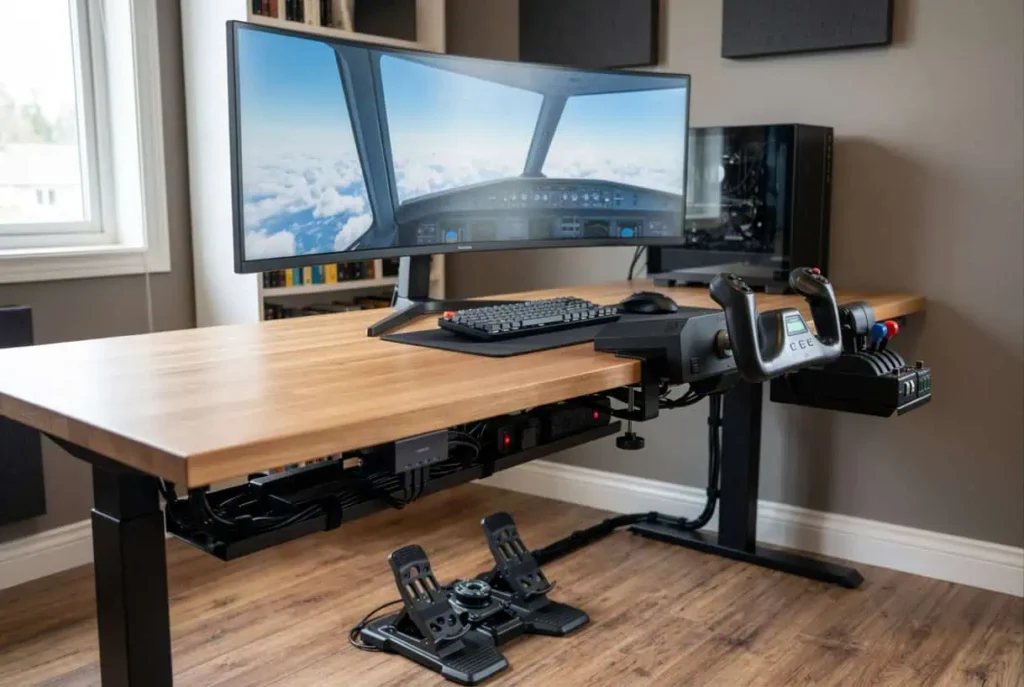
A desk setup usually needs three main cable paths.
Keep the USB hub under or behind the desk. Route the yoke, throttle, HOTAS, and pedal cables toward it.
Use an under-desk tray for the main cable bundle. Keep the rudder pedal cable away from your feet and use clips along the rear edge of the desk.
Route HDMI and DisplayPort cables along the rear of the desk instead of through the control area. If you use a monitor arm, leave a small loop where the display moves.
Dedicated Flight Simulator Cockpit
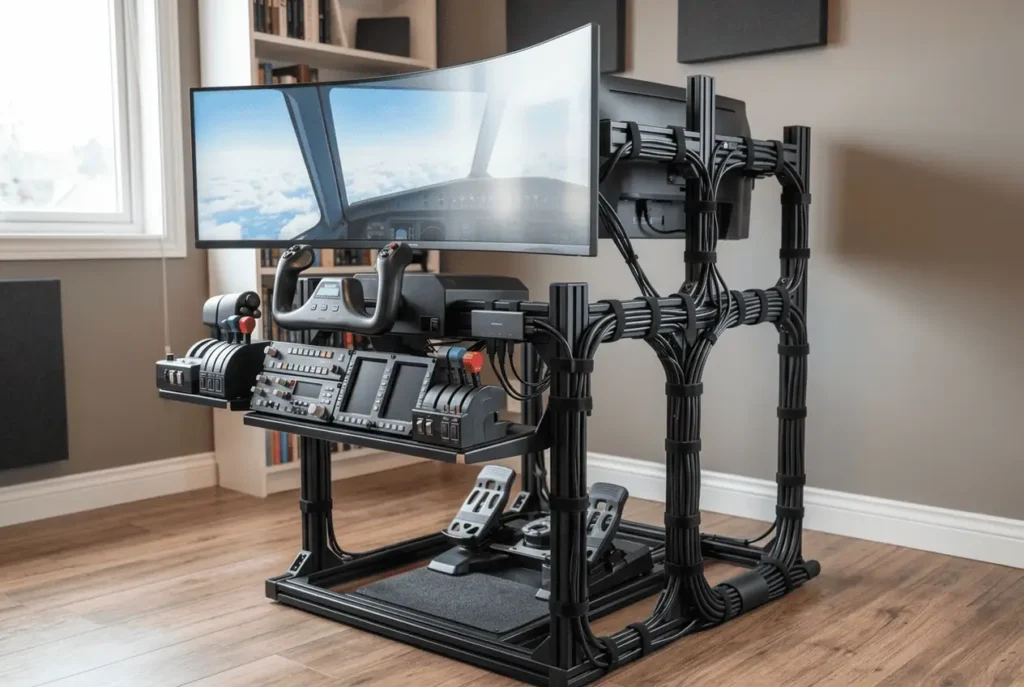
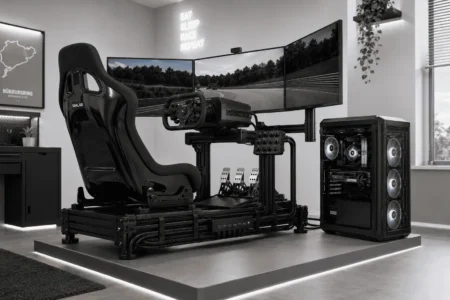
Good flight simulator cable management is easier in a dedicated cockpit because the frame gives you more mounting points.
Route cables along the rear or side of the frame. Use Velcro straps or profile clips so you can remove a cable later without cutting the whole bundle.
Keep the USB hub and power strip in useful locations. This reduces the number of long cables running from the controls to the PC.
If the cockpit has a sliding seat, adjustable pedals, or movable controls, test the full range of movement before securing the final cable bundle.
HOTAS Setup
A HOTAS setup normally has a joystick, throttle, and often rudder pedals.
Keep the joystick and throttle cables behind their mounts. Route them toward the same USB hub if that works well for your hardware.
Keep the rudder pedal cable along the rear or side of the setup. It should never become part of the foot area.
If the joystick or throttle can move, leave a small service loop near the moving connection.
Yoke and Throttle Setup
A yoke and throttle quadrant setup can have several cables close to the front edge of the desk.
Route them toward the rear as soon as they leave the controls. Secure the cables under the desk and leave small service loops near adjustable controls.
If the yoke or throttle can be moved for storage, test that movement before fixing the cable in place.
VR and Head-Tracking Cables
Keep VR and head-tracking cables away from your feet and moving controls.
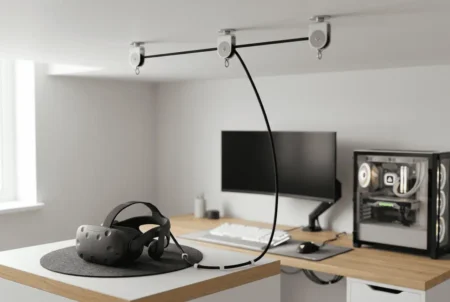
Route the cable from the rear or overhead when your setup allows it. Leave enough slack for normal head movement, but avoid large loops that can catch on the chair or cockpit.
Keep the cable away from sharp edges and avoid strain near the headset connector.
Route Panels and Extra Flight Controls Without Adding Cable Clutter
MFDs, button boxes, radio panels, Stream Decks, and other flight panels can add several USB cables to the setup.
Place these devices near the most convenient USB connection point. Route their cables toward the nearest hub or PC connection instead of sending every cable across the cockpit.
Group cables by device area and secure them along the desk or cockpit frame.
Keep each connection easy to identify and remove.
Where Should You Put a USB Hub in a Flight Simulator?
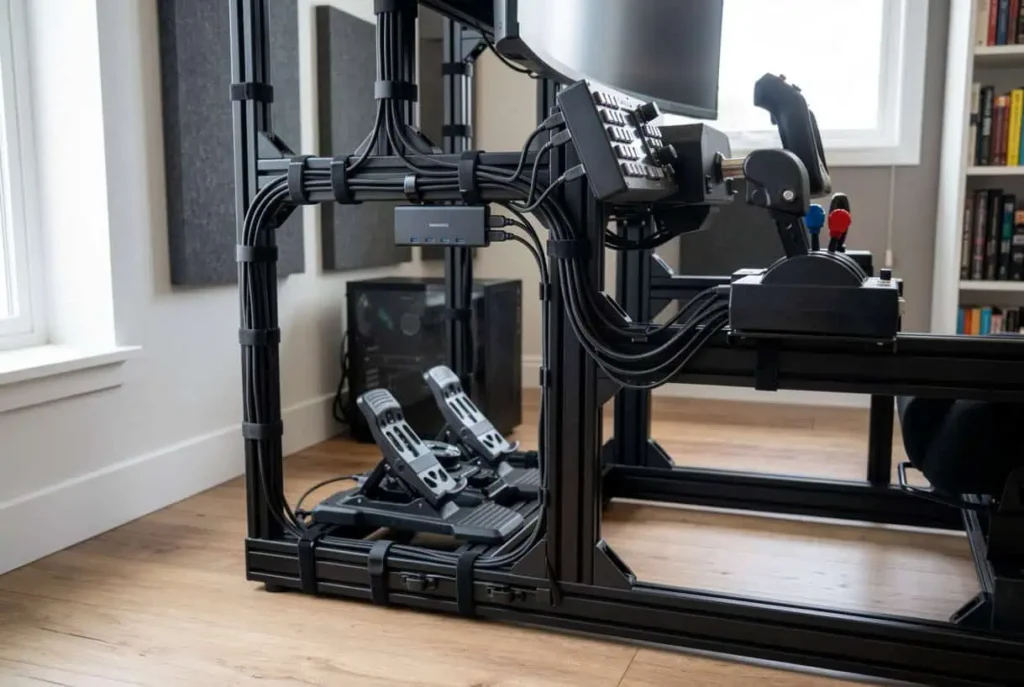
The best USB hub location is close to the devices that use it.
For a desk flight simulator, under the desk is often practical. It keeps the hub out of sight while keeping device cables short.
For a dedicated cockpit, the side or rear of the frame can work well. A hub near the control panel can also reduce the length of cables from nearby devices.
Keep the hub easy to reach. You may need to change a USB device, test a connection, or add new hardware later.
If a device has connection problems through the hub, test it directly from the PC. An externally powered hub can help with a larger group of USB devices, but it is not the right connection for every device.
Should Flight Controls Connect to a USB Hub or Directly to the PC?
A USB hub is useful when your flight simulator has more USB devices than your PC can conveniently handle. It can also keep the cable layout cleaner by placing several device connections close together.
For important controls such as a yoke, joystick, or throttle, a direct PC connection can be useful if the device has connection problems through a hub.
Use this approach:
- Connect primary controls directly to the PC when practical.
- Use an externally powered USB hub for additional panels and peripherals.
- Keep the hub close to the devices that use it.
- Test a device directly from the PC if it disconnects through the hub.
- Avoid long USB runs when moving the hub closer can solve the problem.
This gives you a cleaner setup without assuming every flight control should use the same USB connection.
How to Manage Audio and Headset Cables
Route headset, speaker, and microphone cables along the rear cable path with your other desk cables.
Keep headphone cables away from the yoke, HOTAS, throttle, and rudder pedals so they do not catch during use.
If you use a headset while moving around a cockpit, leave enough slack for normal head movement without leaving a large cable loop.
How to Keep Display Cables Out of the Control Path
Route HDMI and DisplayPort cables along the rear of the desk or cockpit instead of through the control area.
If you use multiple monitors or a monitor arm, leave enough slack for normal monitor movement. Secure the cable near the fixed part of the route, then leave a small loop near the moving point.
Keep display cables separate from the main control bundle when doing so makes future changes easier.
Common Flight Simulator Cable Management Problems
Too Many Cables Run Back to the PC
If several flight controls have long cables running all the way to the PC, move the USB hub closer to the controls. This can shorten several cable runs and leave one main connection between the hub and PC.
A USB Device Keeps Disconnecting
Check the USB cable, port, and connection first. If the device uses a USB hub, connect it directly to the PC and test it again. If it works directly, check the hub, USB cable, and available power.
Cables Are Difficult to Identify
Once a flight simulator has several USB controls, finding the right cable can take time. Label both ends of important cables before securing them into a bundle.
Use simple labels such as Yoke, Throttle, Rudder, MFD, or USB Hub. This makes future changes and troubleshooting much easier.
Flight Simulator Cable Management Checklist
- ☐ USB hub is close to the main flight controls
- ☐ Rudder pedal cables are away from the foot area
- ☐ Yoke and HOTAS cables are routed behind the controls
- ☐ Throttle cables have enough slack for movement
- ☐ Cables are secured to the desk or cockpit
- ☐ Large cable loops have been reduced
- ☐ Power adapters and the power strip are off the floor
- ☐ Important cables are labeled
- ☐ USB connections are easy to reach
- ☐ Moving controls have enough cable slack
- ☐ Display and headset cables are out of the control path
- ☐ Spare routing space is available for future hardware
Conclusion
Good flight simulator cable management keeps every cable on a clear, supported path without limiting your controls. Keep USB hubs and power sources easy to reach, route cables away from your feet and moving parts, and leave enough slack for yokes, throttles, pedals, and other adjustable hardware. Use removable cable supports and label important connections so you can make changes later. Leave some spare space in your cable routes for new controls, panels, or USB devices as your flight simulator setup grows.
FAQs
1. How do I hide flight simulator cables?
Route cables behind the desk or cockpit frame, then secure them with clips or Velcro straps. An under-desk cable tray can hide the main cable bundle, while a cable sleeve can keep several long cables together.
2. How do I keep flight simulator cables off the floor?
Route cables along the rear or side of the desk or cockpit. Keep rudder pedal cables behind the pedal base and secure them before they reach the foot area.
3. How long should flight simulator USB cables be?
Use enough length for normal control movement, hardware adjustment, and maintenance. Avoid large amounts of extra cable that create loops, but do not use a cable so short that it pulls on the device.
4. Can I use a USB hub for a flight simulator?
Yes. A USB hub can help connect several flight-sim devices while reducing long cable runs to the PC. If a device has connection problems through the hub, test it directly from the PC.
5. How do I manage cables in an aluminum profile flight simulator cockpit?
Route cables through accessible T-slots or along the frame using profile clips and Velcro straps. Keep the cables close to the frame and leave removable sections where you may add or change flight controls.
6. How do I stop flight simulator cables from getting tangled?
Group cables by device or destination instead of putting every cable into one bundle. Secure the groups along the desk or cockpit, reduce excess cable length, and leave small service loops only where the hardware moves.