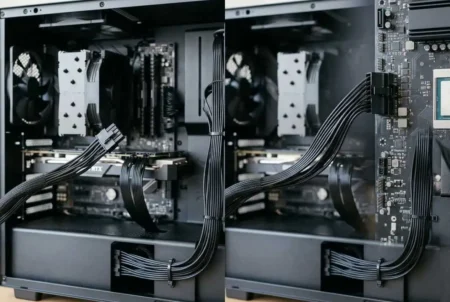



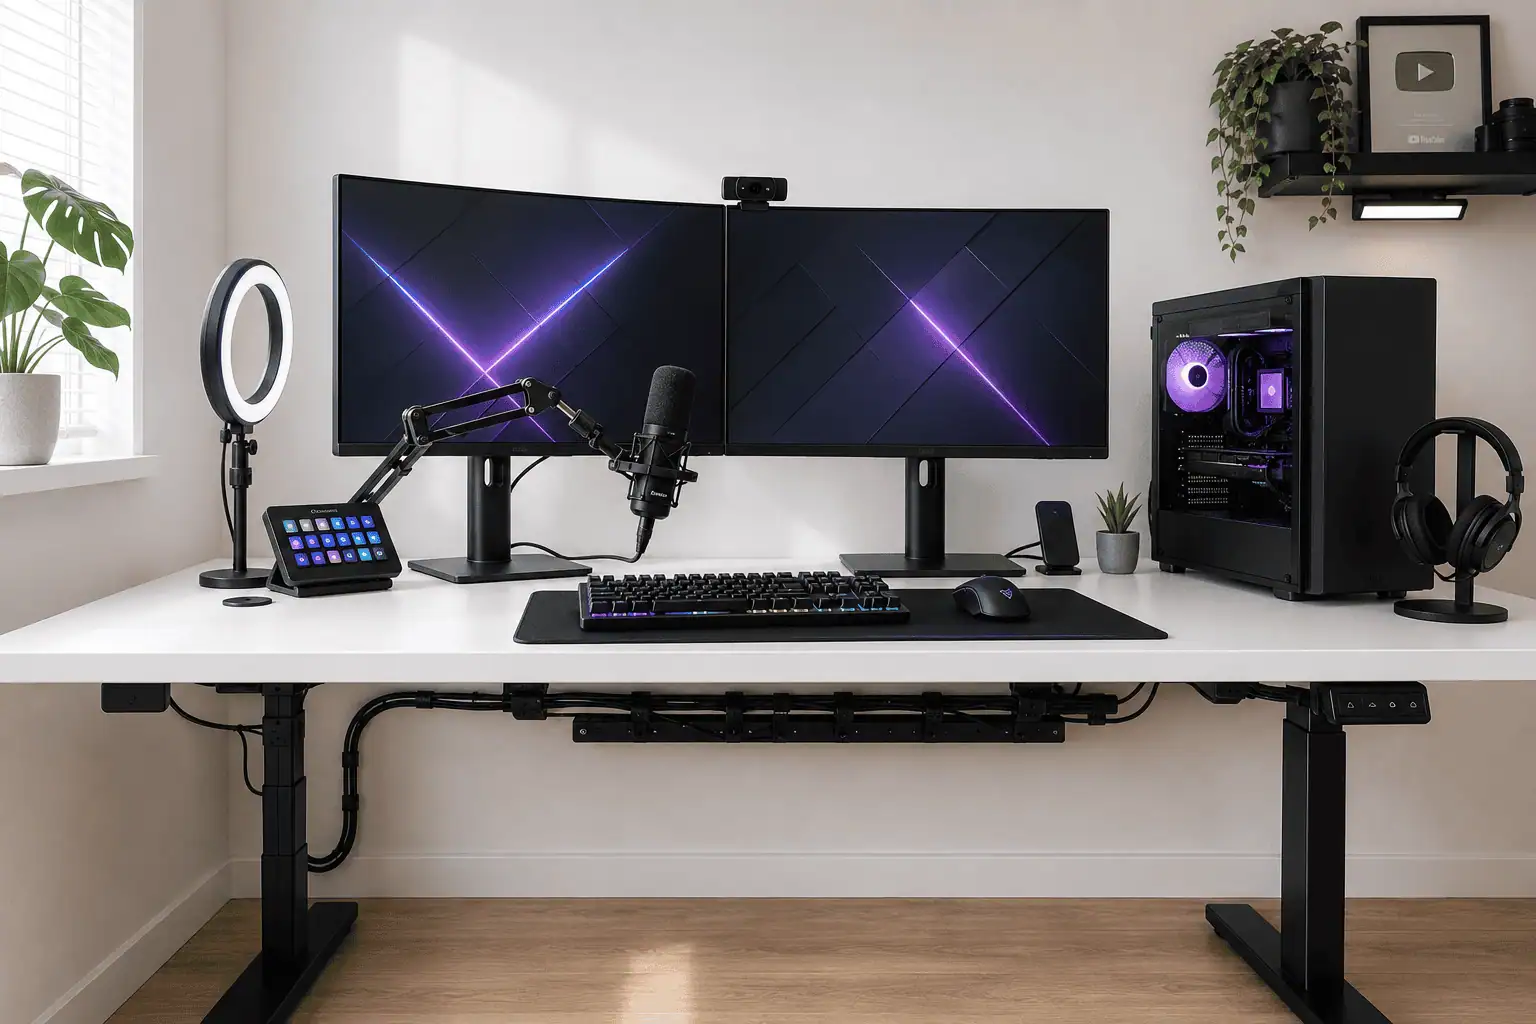
Your streaming setup didn’t become messy because you made one mistake. Every upgrade added another cable. A second monitor, a webcam, a USB microphone, a Stream Deck, a USB hub, RGB lights, and a capture card all made your setup better, but they also created cable clutter behind your desk.
You don’t need to tear everything apart to fix it. By organizing one section at a time and giving every cable a clear route, you can clean up your streaming setup without starting over. This guide shows you exactly how to do it.
Stop Adding New Devices Without a Cable Plan
Most streaming desks become messy for one simple reason.
Every new device gets connected wherever there is an empty port.
At first, everything works well.
Then your setup grows.
You add:
- A second monitor
- A webcam
- A USB microphone
- An XLR microphone and audio interface
- A Stream Deck
- A capture card
- RGB lights
- An external SSD
- Phone and camera chargers
After a while, every cable follows a different path.
You may notice:
- Cables crossing each other
- Power bricks hanging under the desk
- USB cables mixed with HDMI and DisplayPort cables
- No room left inside the cable tray
- Long cable loops collecting dust
- Finding one cable takes several minutes
This is why many streaming setups become difficult to upgrade. Every new device adds another cable until even a small upgrade feels like a major project.
Before buying another cable management product, decide where every new cable should go.
A simple cable routing plan usually solves more problems than another organizer.
Start With a 10-Minute Reset
Before installing cable sleeves or moving your power strip, spend a few minutes finding the real problem.
Don’t try to organize every cable at once.
Instead:
- Turn off your PC and streaming equipment.
- Pull every visible cable into view.
- Remove cables connected to devices you no longer use.
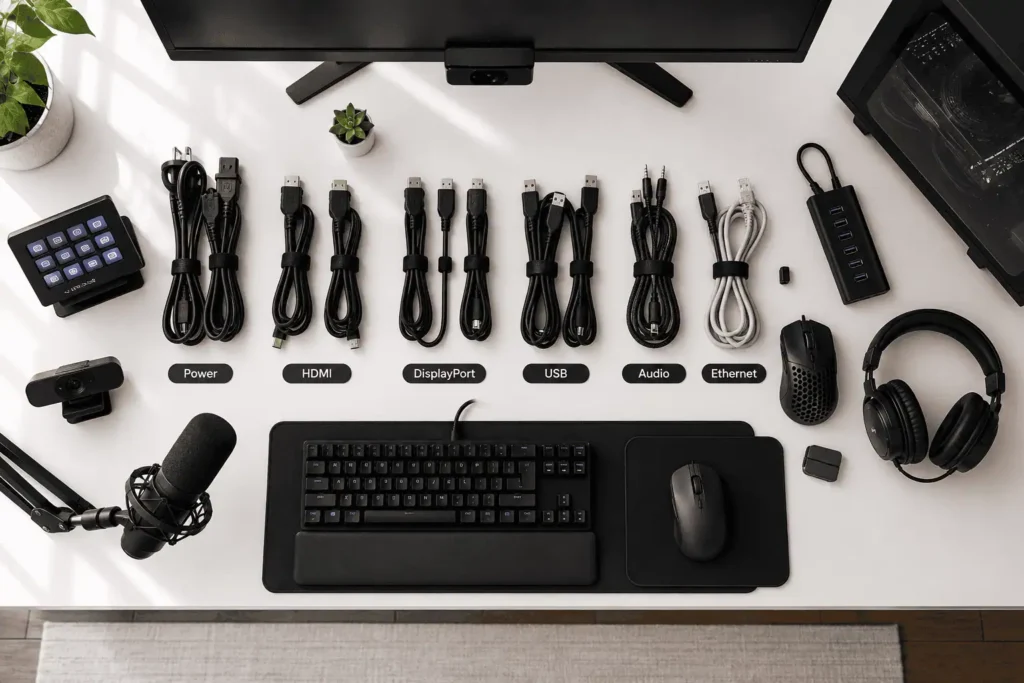
- Separate power, video, USB, audio, and network cables into small groups.
- Look for cables that cross each other without a reason.
This quick reset shows what’s causing the clutter before you spend money on cable management products.
Once the cables are grouped, work on one section of the desk at a time instead of trying to organize the whole setup in one session.
Group Your Cables Before You Hide Them
One of the biggest mistakes is hiding cables before organizing them.
A cable tray full of tangled wires is still a tangled mess.
Instead, sort every cable by its purpose.
Power Cables
Keep all power cables together.
These include:
- PC power cable
- Monitor power cables
- Speaker power
- Ring light power
- Power adapters
- Surge protector
- Power strip
These cables should all move toward the same power source.
Video Cables
Video cables usually include:
- HDMI
- DisplayPort
These normally connect:
- PC to monitor
- Gaming console to capture card
- Capture card to monitor
Most video cables don’t need to travel across your entire creator desk.
USB Cables
USB devices usually create the biggest cable bundle.
Common examples include:
- Webcam
- Stream Deck
- USB hub
- Keyboard
- Mouse
- External SSD
- Capture card
Keep these cables together instead of letting each one follow its own route.
Audio Cables
Audio equipment should stay in one area.
This includes:
- USB microphone
- XLR microphone
- Audio interface
- Speakers
- Headphones
Keeping audio cables together makes upgrades much easier because you always know where they are.
Network Cables
Your Ethernet cable should have its own route whenever possible.
Avoid wrapping it around every other cable before it reaches your router or network switch.
Once every cable has a group, organizing the rest of your setup becomes much easier.
Build One Main Cable Route Under the Desk
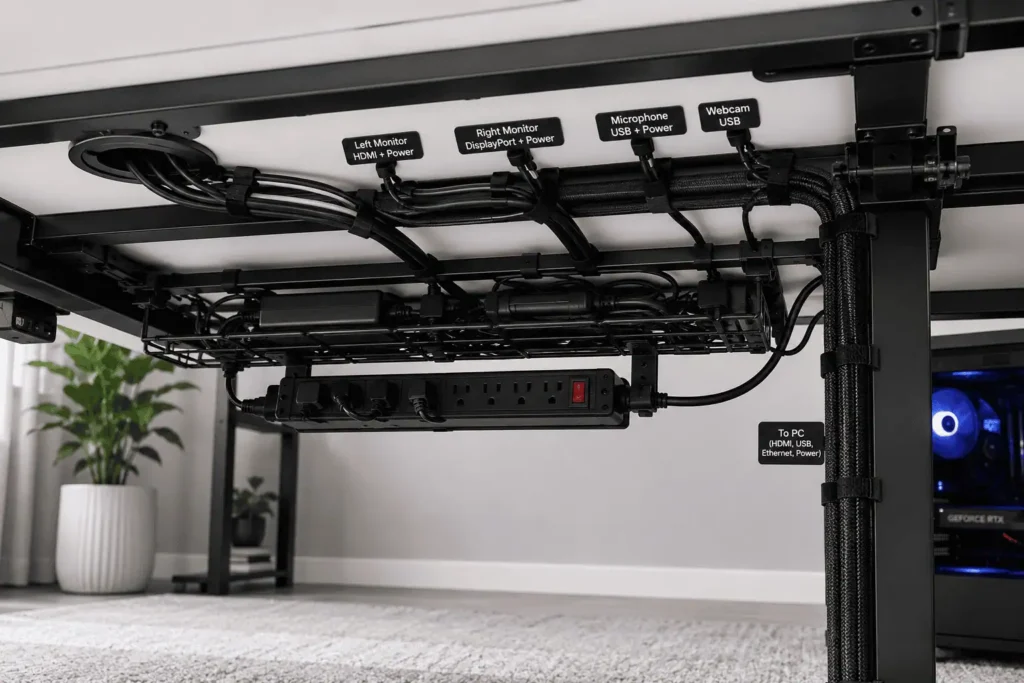
Another common mistake is giving every cable its own path.
The webcam goes one way.
The microphone goes another.
The monitor cables hang behind the desk.
Charging cables run across the floor.
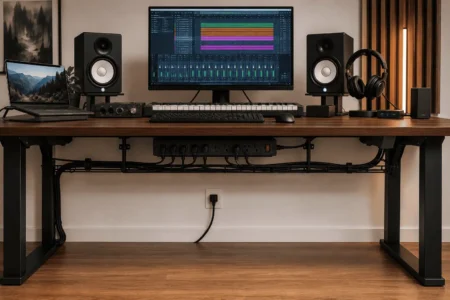
Instead, build one main cable route under your desk.
Think of it as the main road that carries almost every cable through your streaming workstation.
Start with your power strip.
Mount it under the desk instead of leaving it on the floor.
This shortens cable runs, reduces clutter, and makes adding new devices much easier.
Next, place your power bricks close to the power strip.
Don’t leave one power adapter behind every monitor, speaker, or LED light.
Keeping them together saves space and makes them much easier to reach.
From there, guide most cables into an under-desk cable tray.
The tray should carry your cables across the desk.
Only the final section of each cable should leave the tray.
For example:
- Monitor cables leave near the monitor arm.
- Webcam cables leave behind the monitor.
- USB cables leave near the USB hub.
- Audio cables leave near the microphone.
- Ring light cables leave near the light stand.
If your desk has a desk grommet, use it whenever possible.
Running cables through the desktop looks much cleaner than letting them hang over the edge.
If cables need to travel along a wall, install a cable raceway to protect them and keep them out of sight.
If You Use a Standing Desk
A standing desk or sit-stand desk needs one extra step.
Leave a small service loop before each cable enters the cable tray.
This extra slack lets the desk move up and down without pulling on HDMI, DisplayPort, USB, or power cables.
Without enough slack, connectors can loosen over time, and cables may become stretched every time you raise the desk.
A small service loop keeps your cable routing neat while protecting your equipment.
Keep Power Bricks Under Control Before They Take Over
Many people think cables create the biggest mess.
In reality, large power bricks often cause more problems.
Monitor adapters, laptop chargers, LED light power supplies, and speaker adapters quickly fill the space under your desk.
Instead of leaving every power brick wherever it lands:
- Keep them close to the mounted power strip.
- Avoid stacking them on top of each other.
- Leave enough room to unplug one without moving the others.
- Keep power cables together instead of mixing them with USB and video cables.
Leave a little space between power bricks for airflow and easier access.
This also makes troubleshooting much faster.
If one monitor suddenly loses power, you won’t need to search through every cable under your desk to find the correct adapter.
Organize Monitor and Webcam Cables First
The monitor area is usually the first thing people notice.
Cleaning this section alone can make your streaming setup look much better.
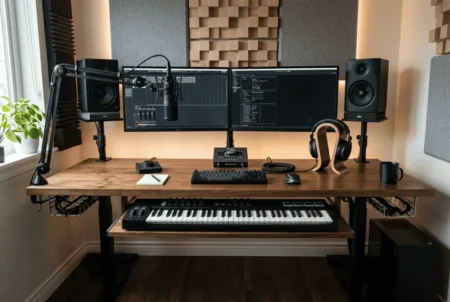
If you use a monitor arm, route the HDMI, DisplayPort, USB, and power cables through its cable channel.
If your monitor arm doesn’t include one, secure the cables neatly along the back of the arm using reusable hook-and-loop cable ties.
For dual monitor setups, bring both monitor cable bundles together before they enter the cable tray.
Avoid creating separate cable routes for each monitor.
For your webcam:
- Route the cable behind the monitor.
- Secure it along the monitor arm whenever possible.
- Leave a little cable slack so moving the monitor doesn’t pull on the USB connector.
These small changes remove several visible cables while keeping every connection easy to reach when you upgrade or replace your equipment.
Organize USB Devices Around One Hub
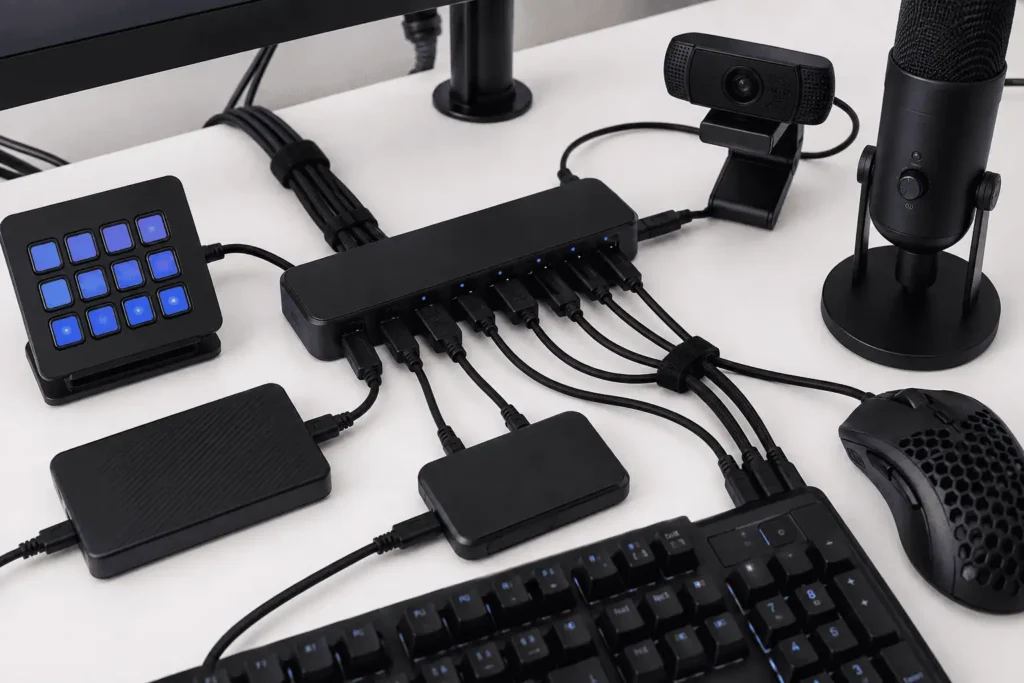
USB devices usually create the biggest cable mess because every new accessory adds another connection.
Most creator desks include:
- Stream Deck
- Webcam
- Keyboard
- Mouse
- USB hub
- External SSD
- Capture card
- Phone charger
Instead of running every USB cable directly to your PC, connect them to a USB hub whenever possible.
This creates one clean cable route instead of six or seven different ones.
Place the USB hub close to the devices that use it most. Shorter USB cables create less clutter and leave more room inside your cable tray.
If your setup uses thick USB cables or a USB switch, avoid bending them sharply behind the desk. Give these cables a wider curve so they don’t push against other cable bundles or pull on nearby ports.
Grouping USB devices together also means future upgrades only affect one cable bundle.
Keep Audio and Capture Card Cables Together
Audio cables often become mixed with USB, monitor, and power cables.
That makes replacing a microphone or fixing an audio problem much harder than it should be.
Keep these devices together whenever possible:
- USB microphone
- XLR microphone
- Audio interface
- Headphones
- Speakers
If you use a boom arm, secure the microphone cable along the arm using reusable hook-and-loop cable ties.
Leave a little cable slack near the moving joints.
This prevents the cable from pulling every time you adjust your microphone.
If your setup includes a capture card, place it where both your gaming PC or console and streaming PC can reach it with the shortest practical cable runs.
For a dual-PC streaming setup, shorter HDMI and USB cables reduce clutter and make troubleshooting much easier if the video signal suddenly stops working during a stream.
Keeping all audio equipment in one area also makes future upgrades easier because every related cable stays together.
Create One Charging Station
Charging cables often create clutter because they get plugged in wherever there is an empty outlet.
Over time, phone chargers, camera battery chargers, smart watch chargers, tablet cables, and wireless charging pads become mixed with your streaming gear.
Instead of spreading them around your desk, create one dedicated charging station.
Keep all charging cables together and route them separately from your streaming equipment whenever possible.
This keeps your creator workspace cleaner and prevents charging cables from mixing with your streaming gear.
Choose Cable Management Products That Solve the Right Problem
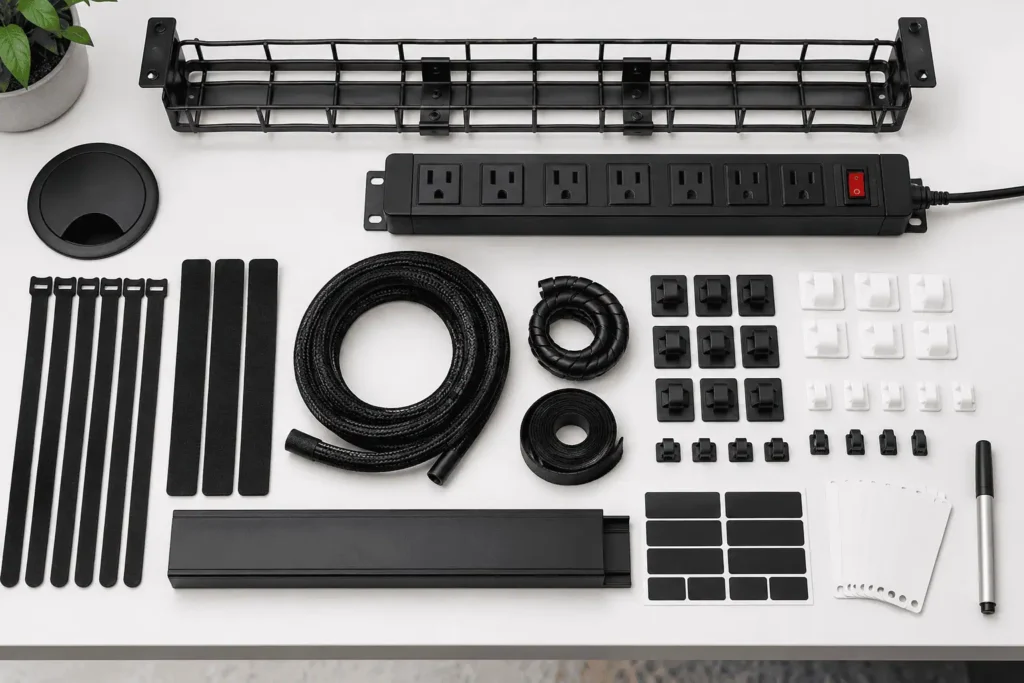
Buying more cable organizers won’t fix a poor cable layout. Organize your cables first, then buy only the accessories that solve the remaining problems.
Choose products that solve the problem you’re actually facing.
For example:
- Use reusable hook-and-loop cable ties for loose cable bundles.
- Install an under-desk cable tray if cables are hanging below the desk.
- Add a cable raceway for cables running along the wall.
- Use cable sleeves when several cables always travel together.
- Install desk grommets to route cables through the desktop instead of over the edge.
If you’re renting your home or don’t want to drill into your desk, choose clamp-on cable trays or removable cable organizers instead of permanent mounts.
Before buying new accessories, improve your cable layout first.
Moving your USB hub, removing unused cables, shortening cable runs, or relocating the power strip often solves the problem without spending more money.
Also remember that adhesive cable clips work well for lightweight cables, but they often struggle to hold heavy power bricks over time.
Choose cable management products that match the weight of the cables they need to support.
Avoid Mistakes That Make Cable Management Worse
Even a clean setup can become messy again if you repeat the same habits.
Avoid these common mistakes:
- Hiding tangled cables instead of organizing them first.
- Pulling zip ties too tightly.
- Mixing power, USB, audio, and video cables into one large bundle.
- Leaving long cable loops behind the desk.
- Forgetting to label important cables.
- Packing the cable tray so tightly that there is no room for another cable.
An overloaded cable tray quickly becomes difficult to work on.
If you can’t add one more cable without pulling everything apart, remove unused cables or create another cable route instead of forcing everything into the same space.
Another common mistake is trying to hide every cable.
Good cable management is also about cable accessibility.
If replacing one HDMI cable means taking apart your entire setup, your cable management system is making upgrades harder instead of easier.
Leave Room for Future Upgrades
Your streaming setup will probably keep growing.
You might buy another monitor, upgrade your webcam, replace your microphone, or add another Stream Deck.
Plan for those upgrades today instead of waiting until your desk becomes crowded again.
Leave extra space inside your cable tray.
Keep cable bundles small so you can open one section without disturbing everything else.
Route every new cable through your existing cable path instead of creating another one.
This modular cable management approach keeps your setup organized as it grows.
Every few months, remove unused HDMI cables, chargers, and adapters that are no longer connected.
Removing them creates more space and keeps your setup easier to maintain.
Don’t wait until your setup has fifty cables before organizing it again.
Small improvements after every upgrade are much easier than rebuilding your entire desk once the cable clutter gets out of control.
Conclusion
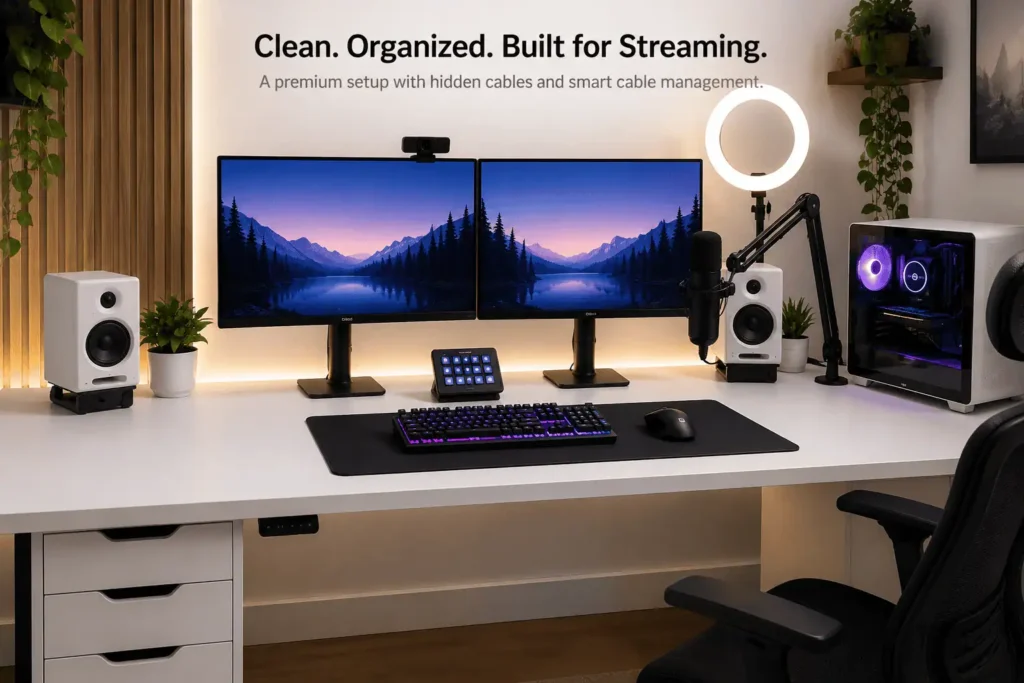
Your streaming setup doesn’t become messy because you own too much gear. It becomes messy because every upgrade adds another cable without a clear place to go. By giving every cable a purpose, keeping related devices together, and following one main cable route, your setup becomes easier to upgrade, troubleshoot, and maintain. The goal of streaming setup cable management isn’t to build a perfect desk once. Build a system that grows with your setup, so adding your next monitor, webcam, microphone, or Stream Deck takes minutes instead of turning your desk back into a cable mess.
FAQs
Does cable management improve streaming performance?
Cable management won’t increase your FPS or internet speed. However, it makes your setup easier to maintain, improves airflow around your equipment, and reduces the time needed to troubleshoot cable-related issues.
How often should I reorganize my streaming setup?
A full reorganization isn’t necessary very often. Check your setup every few months or whenever you add new equipment to remove unused cables and keep your cable routing organized.
What cable length is best for a streaming setup?
Choose the shortest cable that comfortably reaches your device without being stretched. Cables that are too long create unnecessary clutter, while cables that are too short can put stress on connectors.
Can I use the same cable management setup for gaming and streaming?
Yes. A well-planned cable management system works for gaming, streaming, video editing, and everyday PC use. The only difference is that streaming setups often include extra devices like webcams, microphones, capture cards, and Stream Decks.
Is wireless equipment better than cable management?
Wireless devices can reduce the number of visible cables, but they don’t replace good cable management. Monitors, desktop PCs, power supplies, and many streaming accessories still require cables, so an organized cable routing plan remains important.