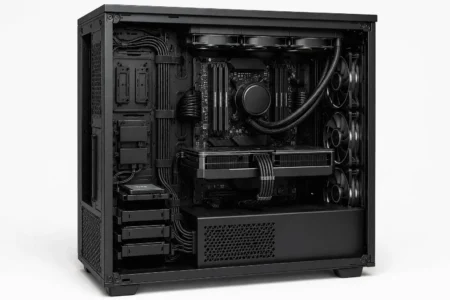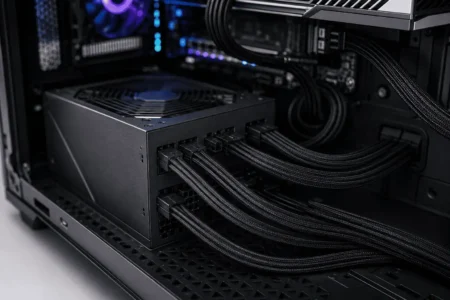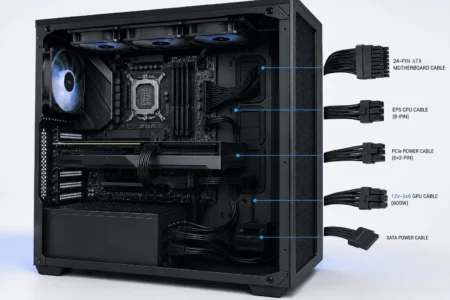



Adding multiple SSDs is a great way to expand storage, but the extra SATA data and power cables can quickly create clutter inside your PC. Without proper cable routing, the system may become harder to upgrade, clean, and manage over time.
Learning how to route SATA cables for multiple SSD drives helps keep cables organized and easy to access. By choosing clean cable paths and using simple routing techniques, you can create a setup that is easier to maintain. Whether you are building a new PC or adding extra SSDs to an existing system, organizing the cable layout before installation can save time and reduce clutter later.
Why SATA Cable Routing Matters for Multiple SSD Setups
Proper SATA cable routing helps keep your PC organized and easier to maintain.
Neatly routed cables make it easier to add storage, replace drives, and clean the system.
Good cable management also reduces strain on SATA connectors and prevents unnecessary cable clutter.
While SATA cables have a small effect on airflow, keeping them organized helps maintain a cleaner airflow path inside the case.
A few minutes of planning can make future upgrades and maintenance much easier.
Understanding SATA Data and SATA Power Cables
Before you start routing cables, it helps to understand the two cable types used by every SATA SSD.
Many beginners confuse these cables because both connect to the drive.
What Is a SATA Data Cable?
A SATA data cable carries information between the SSD and the motherboard.
Some SATA data cables include locking retention clips that help keep the connector securely attached to the motherboard or SSD.
One end connects to a SATA port on the motherboard. The other end connects to the SSD.
The cable is usually:
- Thin and flexible
- Narrow in shape
- Equipped with small connectors
- Available in straight or right-angle designs
Every SSD needs its own SATA data connection.
Without a SATA data cable, the motherboard cannot communicate with the drive.
What Is a SATA Power Cable?
A SATA power cable provides electricity from the power supply unit (PSU) to the SSD.
The power connector is wider than the SATA data connector and comes from the PSU.
Many power supply cables include several SATA power connectors on the same cable.
This allows multiple SSDs to share a single SATA power lead when the cable length and connector spacing are suitable.
Without SATA power, the SSD will not turn on.
Why Each SSD Needs Both Connections
Every SATA SSD requires:
- One SATA data cable
- One SATA power connection
Think of the data cable as the communication path and the power cable as the energy source.
If either connection is missing, the SSD will not work correctly.
When planning how to route SATA cables for multiple SSD drives, remember that you must organize both cable types.
Many builders focus only on data cables and overlook the power cables, which often create the most clutter inside the case.
Common SATA Cable Mistakes
Before moving on to cable routing, avoid these common mistakes:
- Mixing up data and power connectors
- Pulling cables too tightly
- Using excessively long cables
- Creating sharp cable bends
- Routing cables across airflow paths
- Leaving excess cable loops loose inside the case
A few minutes of planning can prevent these problems and make the entire routing process much easier.
Plan Your SSD Layout Before Routing Cables
This step is especially helpful when installing three or more SSDs, where cable clutter can become difficult to manage.
Before connecting anything, identify where the SSDs will be mounted and how the SATA data and power cables will reach them.
Locate the Motherboard SATA Ports
Find the SATA ports on your motherboard and identify the shortest cable path to each SSD. Planning the route early helps reduce cable clutter later.
Identify SSD Mounting Locations
Different cases place SSD mounts in different areas.
Common locations include:
- Behind the motherboard tray
- On top of the PSU shroud
- Dedicated SSD brackets
- Drive cages
- Rear mounting plates
Understanding where each SSD will be installed helps you plan cable paths before connecting anything.
Plan Data and Power Cables Separately
Many builders focus only on SATA data cables and forget about power cables.
SATA power cables often create more clutter than data cables.
Before installing anything:
- Plan the SATA data cable route.
- Plan the SATA power cable route.
- Identify where excess cable length will be stored.
- Decide where cable ties or Velcro straps will be used.
This simple planning process can make routing SATA cables for multiple SSD drives much easier and create a cleaner final build.
How to Route SATA Cables for Multiple SSD Drives Step by Step
The goal is to create clean cable paths while keeping every SSD easy to access and maintain.
Step 1: Mount All SSDs First
Install all SSDs in their final locations before connecting any cables. This helps you plan the shortest routing path and prevents unnecessary cable adjustments later.
Step 2: Connect and Route SATA Data Cables
Connect SATA data cables to the motherboard and route them through the nearest cable openings. Keep cable runs as short as practical and route them behind the motherboard tray whenever possible.
Step 3: Connect and Route SATA Power Cables
Connect the SATA power cables from the PSU to each SSD. If several SSDs are mounted close together, use the same SATA power chain when the connector spacing allows it.
Step 4: Bundle and Secure Cables
Group SATA data cables together and secure them using Velcro straps, zip ties, or built-in cable anchors. Store excess cable length behind the motherboard tray to reduce clutter.
Step 5: Check Airflow and Excess Cable Length
Inspect the case for cables that block airflow or hang near fans. Remove large cable loops and keep cable bundles close to the case frame.
Step 6: Test Drives and Inspect the Build
Before closing the case, confirm that all SSDs are detected in the BIOS and operating system. Perform a final inspection to ensure cables are secure, airflow paths are clear, and side panels close properly.
Best Routing Methods for Different SSD Locations
The best SATA cable route depends on where the SSDs are installed inside the case.
Planning the cable path around the drive location helps reduce clutter and keeps cables easier to manage.
Routing SATA Cables for Rear-Mounted SSD Trays
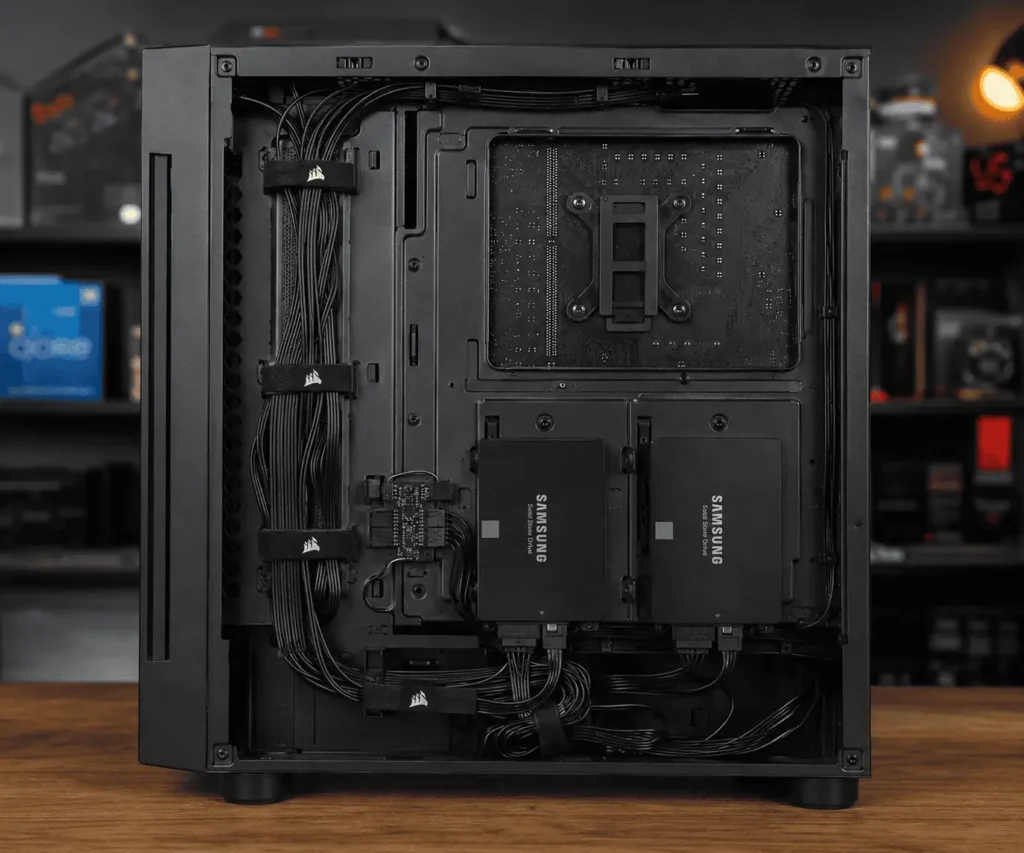
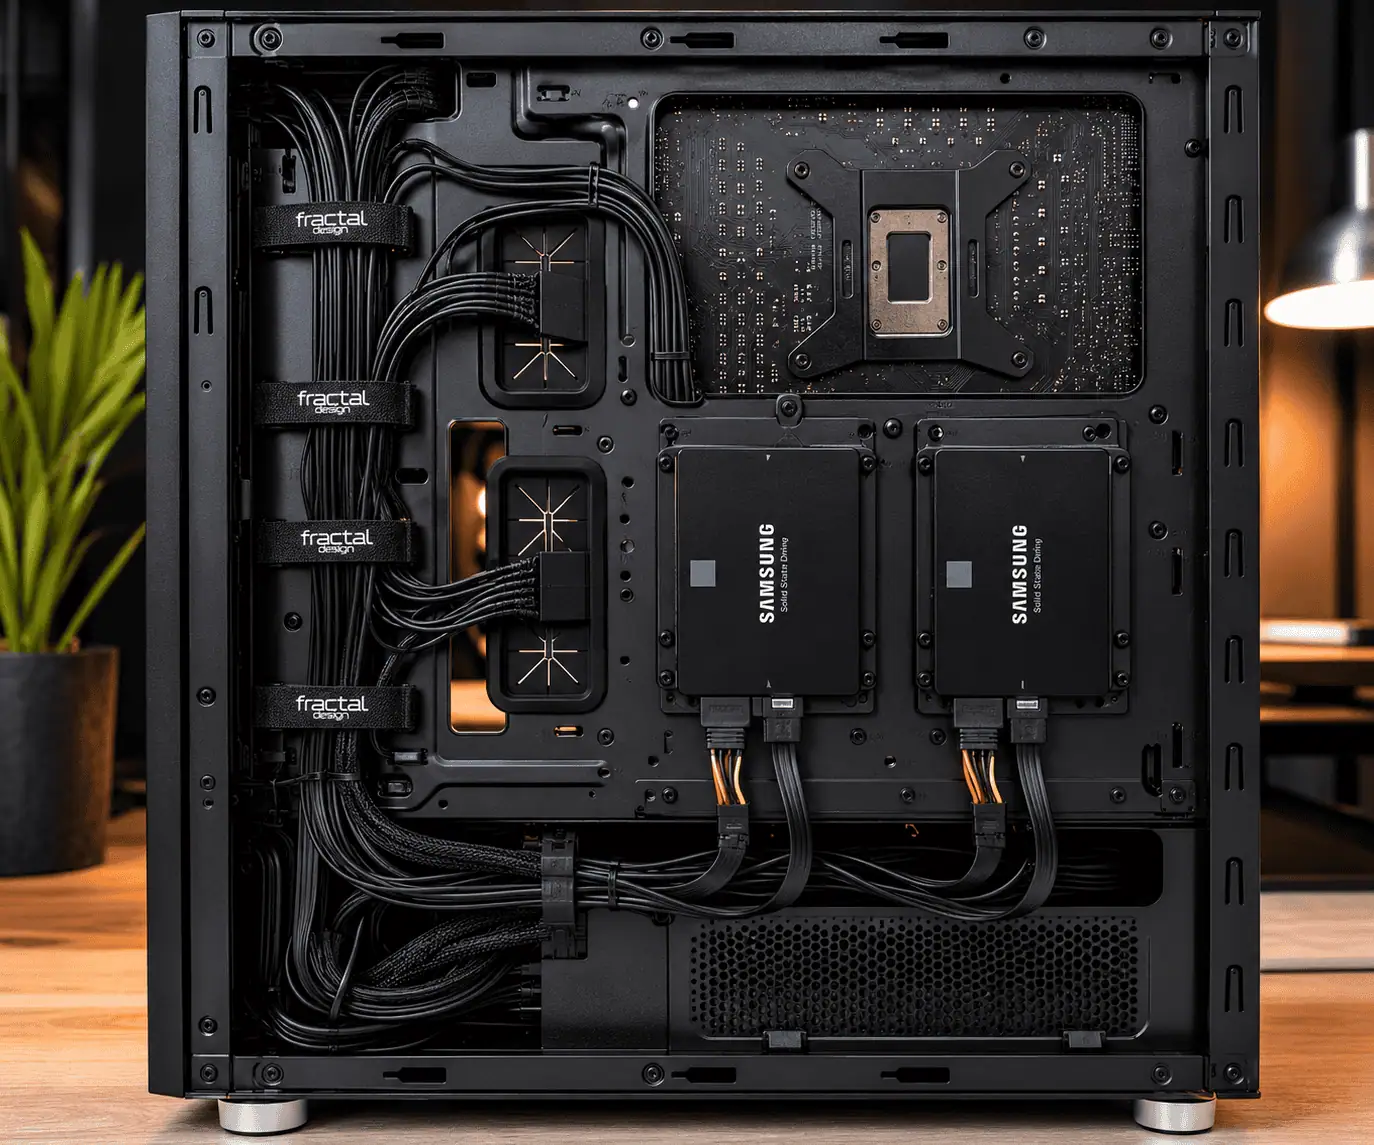
Rear-mounted SSD trays make cable management easier because most cables stay hidden behind the motherboard tray.
Route both SATA data and power cables through the nearest opening and secure excess cable length in the rear chamber.
Routing SATA Cables for Drive Cages
For SSDs installed in drive cages, keep cables close to the cage frame and route them along the side whenever possible. Group nearby cables together to avoid clutter between drives.
Routing SATA Cables for SSDs Mounted on the PSU Shroud
PSU shroud-mounted SSDs are often visible, so keeping cable runs short is important. Route cables through nearby grommets and hide excess cable length below the shroud when possible.
Routing SATA Cables in Small PC Cases
Small PC cases require shorter cable runs and careful planning.
Route cables along case edges, use right-angle connectors when needed, and store excess cable length behind the motherboard tray to reduce clutter.
Straight vs Right-Angle SATA Cables
The type of SATA connector you choose can affect how easily cables are routed inside the case.
What Are Straight SATA Cables?
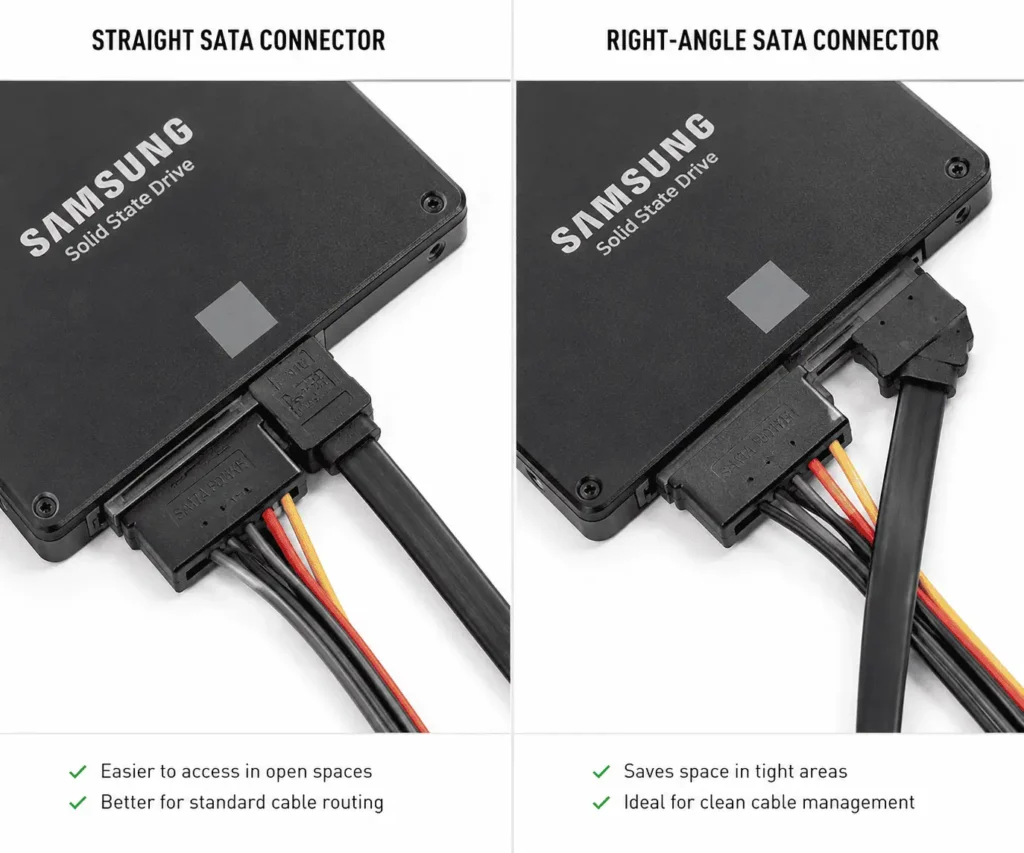
Straight SATA cables extend directly from the connector and work well when there is plenty of space around the SSD or motherboard.
What Are Right-Angle SATA Cables?
Right-angle SATA cables bend immediately after the connector, making them useful in tight spaces and helping create cleaner cable paths.
Should You Use Locking SATA Cables?
Some SATA cables include retention clips that help keep the connector securely attached. These cables can be useful in systems with multiple SSDs where cables may be moved during upgrades or maintenance.
Which Connector Style Should You Choose?
Neither option is better in every situation. Straight SATA cables work well in open layouts, while right-angle SATA cables are often easier to route in compact spaces.
Choose the connector that creates the shortest and cleanest cable path for your build.
Common SATA Cable Routing Mistakes
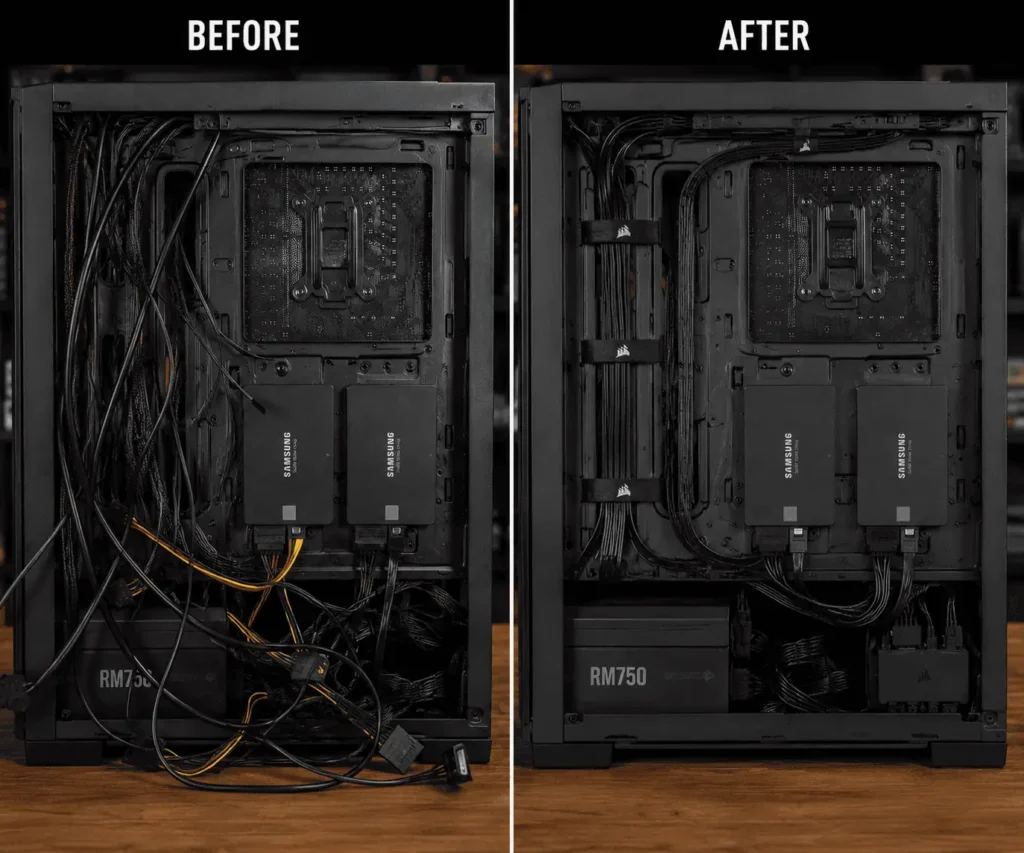
Even small routing mistakes can create cable clutter and make SSD management harder. Avoid these common issues when routing SATA cables for multiple SSD drives.
Routing Cables Across Airflow Paths
Keep SATA cables away from intake and exhaust airflow paths whenever possible to reduce clutter inside the case.
Creating Sharp Cable Bends
Avoid bending SATA cables sharply. Gentle curves help protect the cable and connector.
Pulling Cables Too Tight
Leave a small amount of slack in each cable to prevent stress on SSD and motherboard connectors.
Using Cables That Are Too Long
Excess cable length can create clutter and make cable management more difficult. Use the shortest practical cable length for your setup.
Troubleshooting SATA Cable Issues
Even when the cable routing looks good, problems can still occur.
If an SSD is not working properly after installation, check the following areas.
SSD Is Not Detected
If the SSD does not appear in the BIOS or operating system:
- Verify the SATA data cable connection.
- Verify the SATA power cable connection.
- Check the motherboard SATA port.
- Try a different SATA cable.
- Confirm the SSD is installed correctly.
A loose connector is often the cause.
Side Panel Will Not Close
If the side panel will not close, flatten cable bundles and move excess cable length to a less crowded area behind the motherboard tray.
Cables Touch Cooling Fans
Any cable that contacts a fan should be secured immediately.
Secure loose cables using cable ties, Velcro straps, or cable clips.
Conclusion
Even a simple storage upgrade can create unnecessary cable clutter if the routing is not planned properly. Learning how to route SATA cables for multiple SSD drives helps create a cleaner and easier-to-manage PC build. By organizing SATA data and power cables carefully, you can reduce clutter, avoid cable stress, and keep the system easier to maintain. A few extra minutes spent on cable routing today can save time and frustration later. To apply the same cable management principles throughout the rest of your PC, it’s also worth exploring PC component cable management.
FAQs
Do SATA Cables Need to Be Replaced Over Time?
SATA cables can last for many years, but damaged or loose cables should be replaced to prevent connection issues.
Can I Mix Different SATA Cable Brands?
Yes. SATA cables follow the same standard, so different brands can usually be used together without problems.
Are Locking SATA Cables Worth It?
Locking SATA cables can help prevent accidental disconnections, especially in systems with several drives.
Can I Use Old SATA Cables with a New SSD?
Yes. Most SATA cables are backward and forward compatible with SATA SSDs.
Do SATA Cables Affect SSD Speed?
No. A properly working SATA cable does not affect SSD performance unless the cable is damaged or defective.
Should SATA Cables Be Routed Above or Below the GPU?
Either can work, but the best route is usually the one that keeps cables away from airflow paths and moving fans.