


Building a PC is exciting until PSU cables, GPU power cables, motherboard headers, SATA cables, and fan wires start competing for space. Without a clear routing plan, cable clutter can make installation harder, restrict access to components, and turn future upgrades into a frustrating task.
This PC component guide explains how to manage cables for every major PC component. You’ll learn the best routing approach for each area of your build and know when to use the linked guides for more detailed cable management techniques.
Why PC Cable Management Matters
Good cable management isn’t just about appearance. It makes your PC easier to build, maintain, troubleshoot, and upgrade throughout its life.
A well-organized build also helps:
- Keep cables away from fan blades and airflow paths.
- Reduce strain on power and motherboard connectors.
- Make cleaning and hardware upgrades easier.
- Keep the inside of the case neat and accessible.
- Leave room for future components without rerouting every cable.
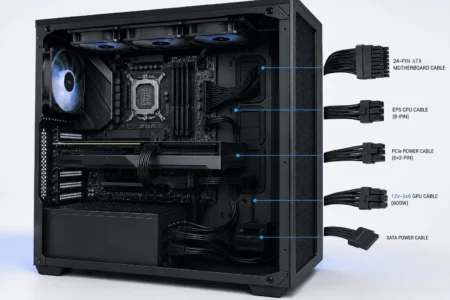
Different cables require different routing methods. Thick PSU cables, EPS CPU cables, motherboard headers, SATA cables, RGB cables, and PWM fan cables should each be managed according to where they connect.
Many builders also wonder whether cable management improves cooling. While routing alone won’t dramatically reduce temperatures, keeping cables away from intake and exhaust fans helps maintain unrestricted airflow. This is explained in more detail in Does Cable Management Improve Airflow.
Connect the largest power cables before installing your graphics card or CPU cooler. You’ll have more working space, cleaner cable routes, and fewer cables to reroute later.
Power Supply (PSU) Cable Management
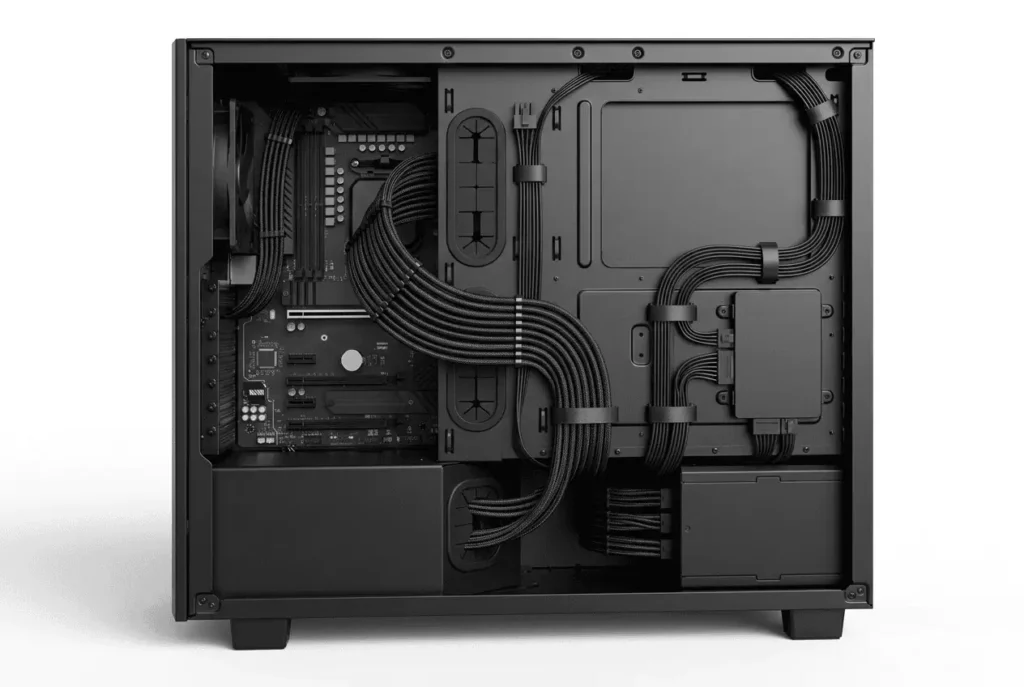
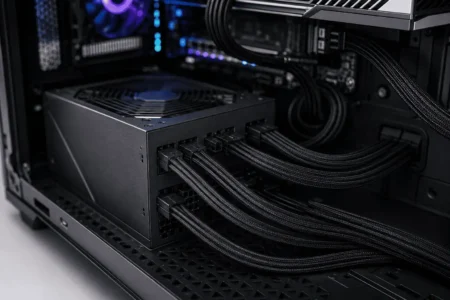
The power supply is where most cable management problems begin because every major component depends on it for power. Organizing these cables first creates cleaner routing paths and makes the rest of the build much easier.
Before connecting anything, identify which cables your system actually needs. Route them through the nearest cable grommets or cable channels, and hide any extra length behind the motherboard tray or inside the PSU shroud.
Choose the Right Power Supply
The type of power supply you choose has a direct impact on how easy your cables are to organize.
- Non-modular
- Semi-modular
- Fully modular
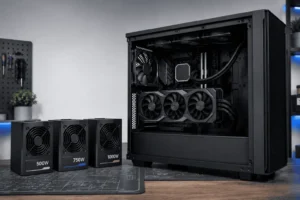
Fully modular power supplies offer the cleanest installation because unused cables stay outside the case. Semi-modular models reduce clutter, while non-modular units require a little more planning to organize permanently attached cables.
If you’re buying a new PSU for modern hardware, checking ATX 3.1 PSU cable compatibility first helps ensure support for current graphics cards and power standards.
Use Only Compatible PSU Cables
One of the most common mistakes is assuming modular PSU cables are interchangeable.
Even when two cables fit the connector, the internal wiring may be different. Using incompatible cables can damage your motherboard, graphics card, or power supply.
Before reusing or replacing cables, always verify modular PSU cable compatibility for your exact PSU model.
Route Large Power Cables First
Install the largest power cables before connecting smaller ones. This creates cleaner routing paths and leaves more space for fan, storage, and front panel cables.
Planning 24-pin power cable routing early also makes the rest of the installation much easier.
If you’re using sleeved extension cables, cable combs can help keep individual wires evenly spaced for a cleaner and more organized appearance.
Hide Excess Cable Length
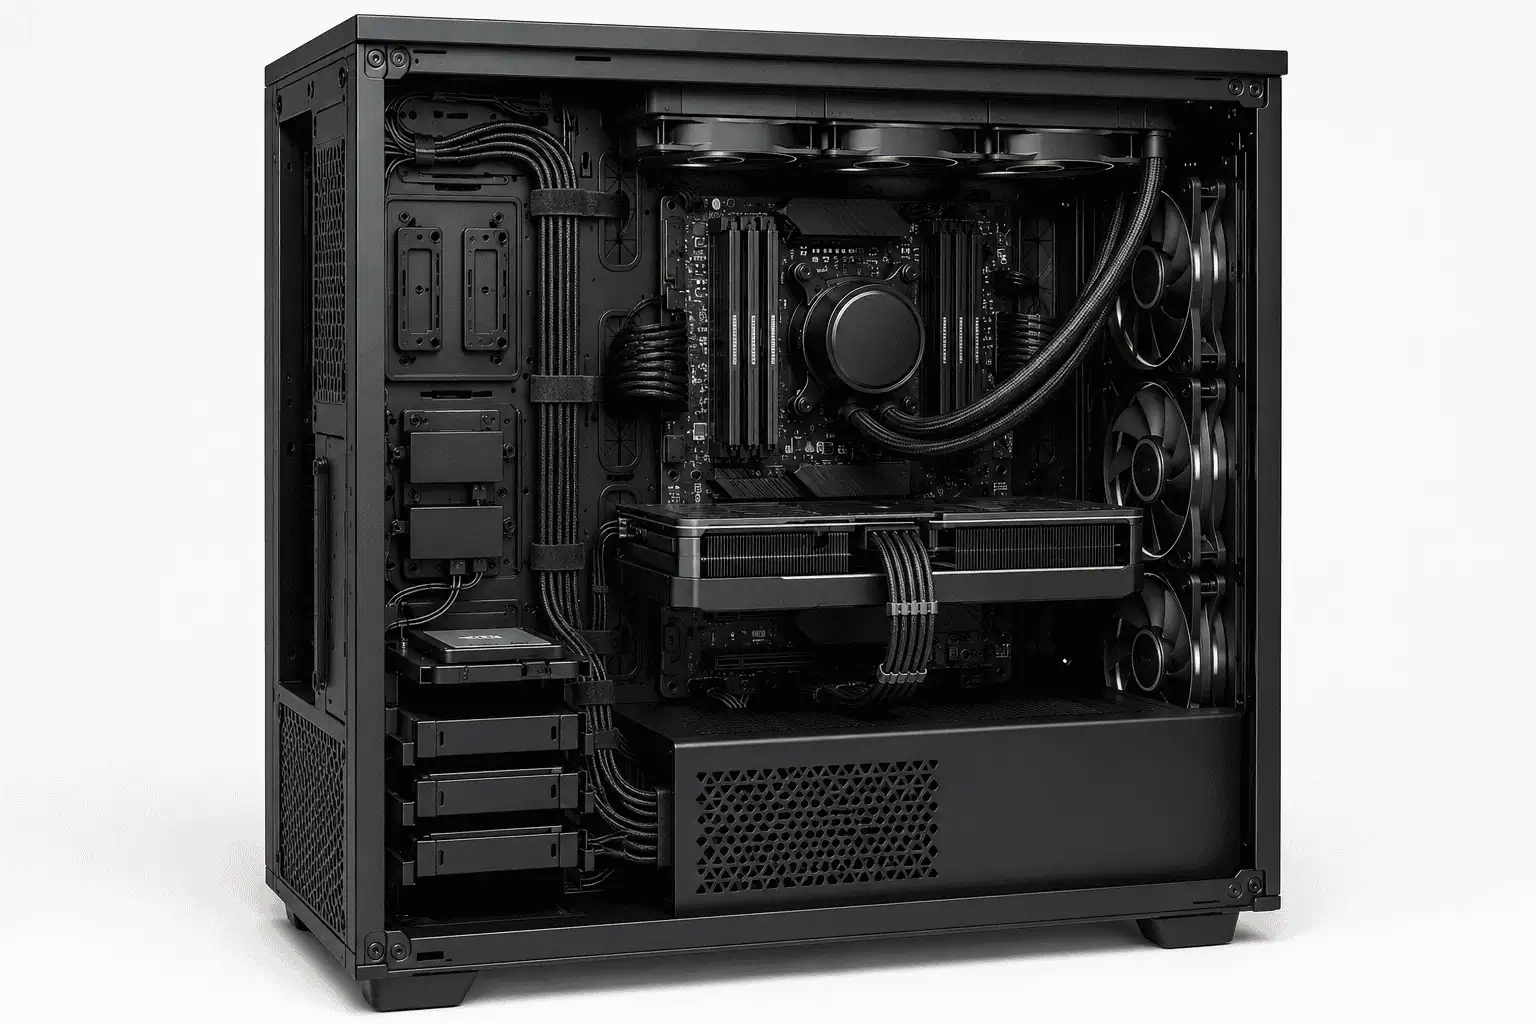
Unused cables should stay behind the motherboard tray rather than inside the main chamber.
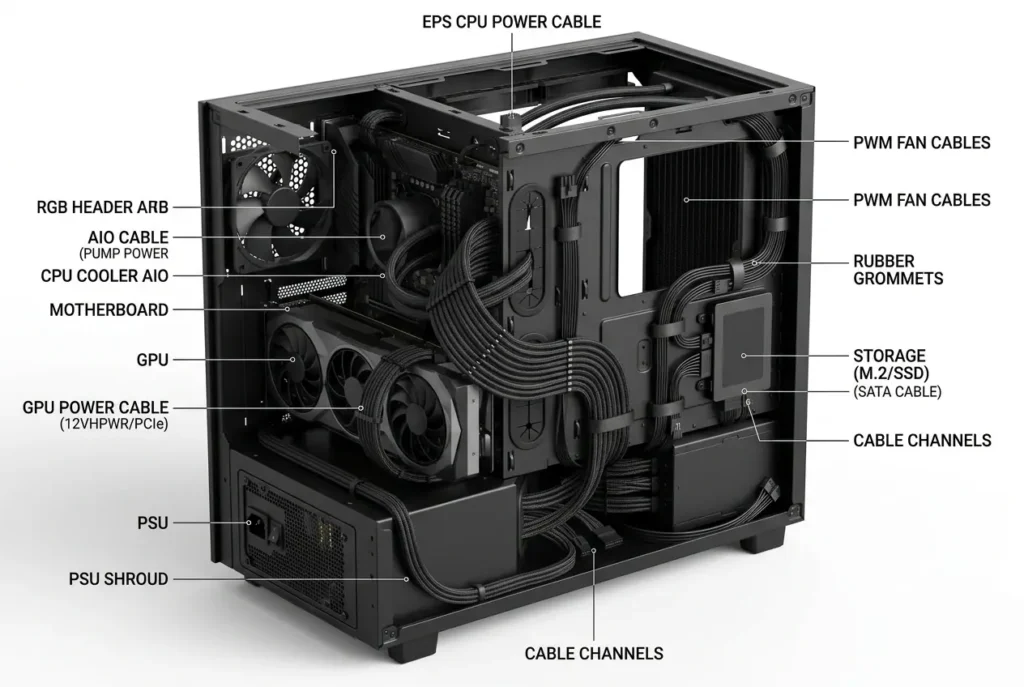
Most modern PC cases include cable channels, tie-down points, rubber grommets, and a PSU shroud that make this much easier. Reusable Velcro straps are also better than tightening every cable with plastic zip ties because they simplify future upgrades.
If your PSU has permanently attached cables, managing non-modular PSU cables becomes an important part of keeping the rear compartment organized.
Connect Modern GPU Power Cables Carefully
Many recent graphics cards use the PCIe 5.1 power connector (12V-2×6), which requires careful installation.
Make sure the connector is fully seated and avoid bending the cable sharply near the plug. Leaving a gentle curve helps reduce stress on the connector while keeping the cable route clean.
Motherboard Cable Management
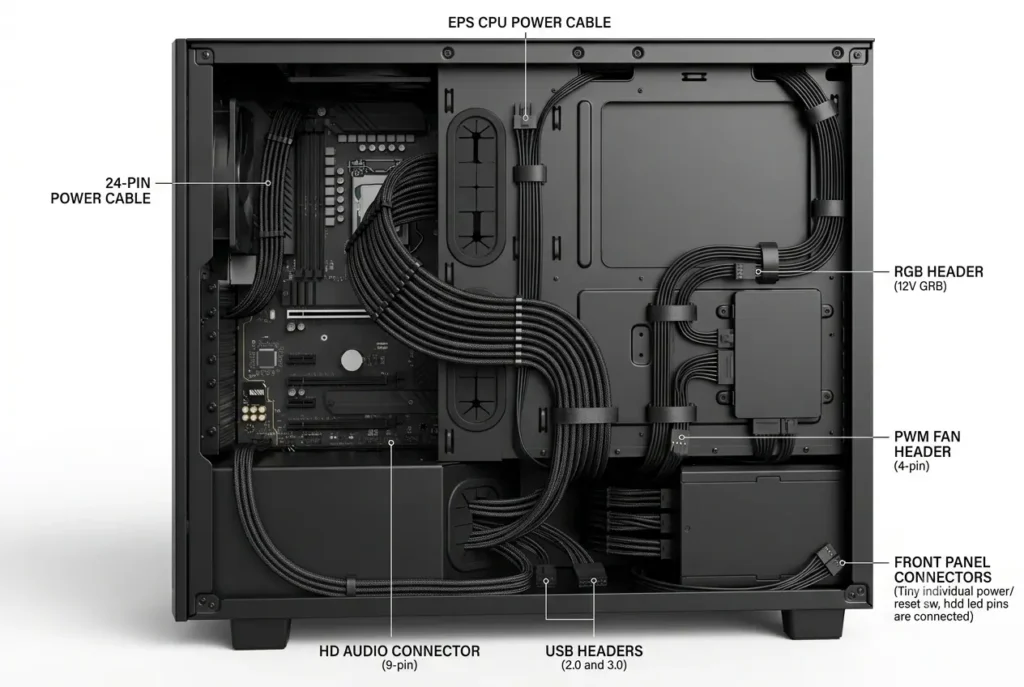
After the PSU cables are in place, the motherboard becomes the next area to organize. Most of the remaining cables connect here, so planning their routes early helps prevent unnecessary cable crossings.
Instead of stretching cables across the motherboard, use the nearest cable cutout and keep cables close to the edges whenever possible. This creates a cleaner layout and leaves the center of the motherboard clear for better access during upgrades.
Choose a Motherboard That Supports Cleaner Cable Routing
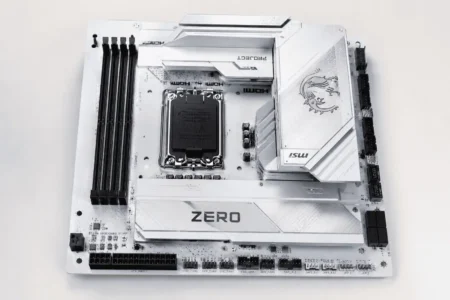
Some newer motherboards move their power, fan, and storage connectors to the back of the PCB instead of the front. These reverse connector motherboards hide most cables behind the motherboard tray, creating a cleaner-looking build with fewer visible wires.
Although they require compatible PC cases, they’re worth considering if cable management is a priority for your next build.
Organize Small Cables Early
Small cables can quickly become the messiest part of a PC build if they’re left until the end.
Front panel headers, HD Audio, USB headers, RGB connectors, and fan headers should be connected before installing larger components like the graphics card. Doing so provides more room to work and keeps cables tucked neatly along the motherboard edges.
Spending a little extra time on front panel header cable organization makes future maintenance and troubleshooting much easier.
Make Use of the Motherboard Tray
The space behind the motherboard tray is designed to hide cables without making them difficult to access later.
Power cables, SATA cables, RGB wires, and fan cables should all be routed through this area whenever possible. Most modern cases also include cable channels and tie-down points to keep everything secure.
Tuck cables behind the motherboard tray before connecting every component creates a cleaner build and reduces the need to reroute cables later.
Once the motherboard cables are organized, it’s much easier to install the graphics card because its power cables can be routed without crossing other connections.
GPU Power Cable Management
Graphics cards are often the largest component inside a PC, so their power cables are highly visible.
Keep GPU power cables clear of nearby fans, avoid stretching them tightly against the side panel, and leave a gentle curve near the connector instead of making a sharp bend. This reduces stress on the connector while keeping the build looking clean.
Taking a few minutes to prevent GPU power connector strain is especially important for newer high-power graphics cards that use thicker power cables.
After the graphics card is installed, the remaining cables usually belong to your CPU cooler and case fans.
CPU Cooling and Case Fan Cable Management
Cooling cables are smaller than power cables, but there are often more of them. CPU coolers, AIO liquid coolers, case fans, RGB controllers, and fan hubs can all add extra wiring inside the case.
The easiest approach is to group cables that follow the same route before securing them behind the motherboard tray. This keeps the area around the CPU socket tidy and simplifies future upgrades.
Manage AIO Cooler Cables
An AIO cooler may include pump, radiator fan, RGB, USB, and fan hub connections. Instead of routing each cable separately, group related cables together before securing them behind the motherboard tray.
Planning AIO pump and radiator fan cable management before mounting the radiator helps reduce clutter and creates a cleaner installation.
Keep Fan Cables Out of the Airflow Path
Loose fan cables can interfere with intake and exhaust fans if they aren’t secured properly.
Route fan cables along the edges of the case, use the nearest cable cutout, and secure any extra length behind the motherboard tray. This keeps airflow unobstructed and makes replacing or adding fans much easier in the future.
Using the same approach recommended for hiding fan cables in a high airflow build also improves the overall appearance of your system.
Storage Drive Cable Management
Once the major components are connected, storage cables are usually the last cables to organize. While SATA cables are thinner than power cables, multiple drives can quickly create unnecessary clutter if they’re routed without a plan.
Keep SATA data and SATA power cables together whenever possible, and use the nearest cable cutout to route them behind the motherboard tray. This keeps the drive area tidy, makes drives easier to replace, and leaves room for future upgrades.
If your build includes several SSDs or hard drives, planning SATA cable routing before installing the drives can save time and prevent tangled cables later.
With the component cables organized, the final step is using your PC case’s built-in cable management features effectively.
PC Case Cable Routing
Even the best cable routing can look messy if the PC case isn’t used properly. Modern cases are designed to simplify cable management, so taking advantage of these features makes a noticeable difference.
Look for built-in features such as:
- Cable channels
- Rubber cable grommets
- Velcro straps
- Tie-down points
- Rear cable space
- PSU shroud
Using these features helps keep cables secure without making future maintenance or upgrades more difficult.
Case layout also affects how cables should be routed. Compact Mini-ITX cases require tighter cable planning, while dual chamber designs separate cables from the main hardware compartment, making clean builds much easier. Learning the basics of dual chamber PC case cable routing can help you get the most from this style of case.
Check Your Cable Routing Before Closing the Case
Before putting the side panels back on, take a few minutes to inspect the entire build.
Check that:
- Every power connector is fully seated.
- GPU and motherboard cables aren’t under tension.
- No cable is touching a fan blade.
- Cable bundles don’t prevent the side panel from closing properly.
- Loose cables are secured with Velcro straps or tie-down points.
A quick inspection now can prevent troubleshooting later and makes future hardware upgrades much easier.
Common Cable Management Mistakes
Even experienced PC builders can make cable management mistakes when they rush the final stages of a build.
Avoid these common problems:
- Connecting cables before planning their routing path.
- Mixing modular PSU cables from different manufacturers.
- Pulling power cables too tightly.
- Blocking intake or exhaust fans with loose cables.
- Leaving large cable bundles inside the main chamber.
- Using excessive zip ties that make upgrades difficult.
- Forgetting to leave enough cable slack for maintenance or component replacements.
Remember that a clean build doesn’t depend on expensive accessories. Careful planning, proper routing, and a few reusable Velcro straps are usually enough to keep cables organized and accessible.
Conclusion
Good PC cable management starts with a simple plan. When every cable follows a clear path, your PC is easier to build, maintain, clean, and upgrade. Every component has different routing needs, so use this guide to understand the basics, then explore the linked articles for detailed cable management techniques for each part of your build.