


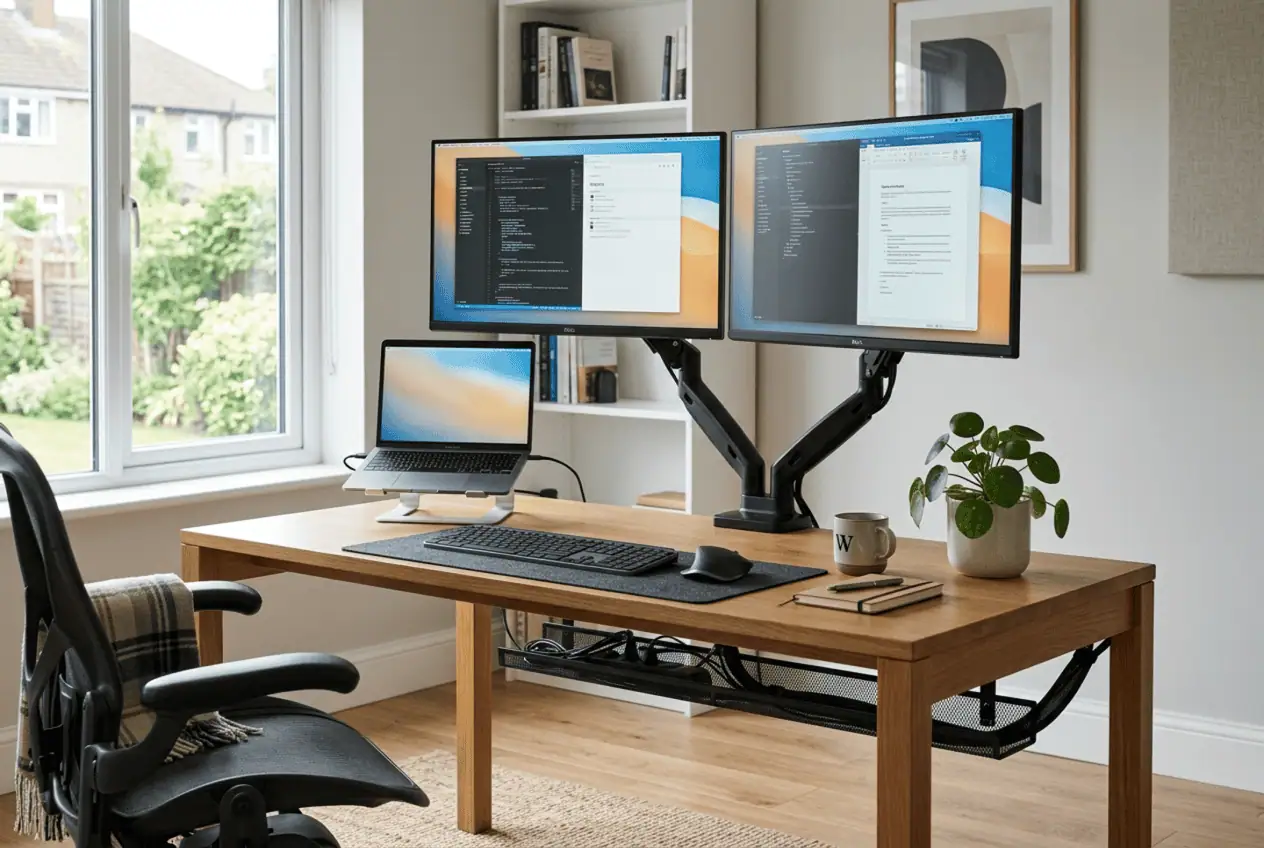
Adding more monitors can improve your workflow, but it also adds more cables under your desk. Without a plan, HDMI, DisplayPort, USB, charging, and monitor power cables can quickly turn a clean workspace into a tangled mess.
The good news is that you do not need dozens of accessories to fix it. With smart cable routing and a few simple cable management tools, you can create a cleaner, safer, and easier-to-maintain multi monitor setup.
What Is Multi Monitor Cable Management?
Multi monitor cable management is the process of organizing power, display, USB, and network cables for two or more monitors.
A planned cable path reduces clutter, protects cables from damage, and makes it easier to clean, adjust monitors, and connect new devices. It is an important part of good desk cable management.
Multi-monitor cable organization is one part of effective desk cable management, where every cable follows a planned route to create a cleaner and easier-to-maintain workspace.
Why Multi Monitor Cable Management Matters
A clean desk is only one benefit of good multi monitor cable management. Organizing your cables also protects your equipment, makes cleaning easier, and saves time when adding or replacing devices.
A Cleaner Workspace Helps You Focus
Loose cables can make even a well-organized desk feel cluttered. Routing monitor power cables, HDMI, DisplayPort, and USB cables neatly keeps your workspace tidy and reduces distractions.
For home office professionals and remote workers, a clean desk also creates a more professional workspace during video meetings.
Protect Your Cables and Devices
Monitor cables move every time you adjust a monitor arm or standing desk. If they stay under constant tension, connectors can wear out over time.
Cable clips, cable sleeves, and under-desk cable trays support the cables instead of putting stress on the monitor ports. This helps reduce cable strain and protects your equipment.
Easier Maintenance and Future Upgrades
Organized cables are easier to clean, replace, and upgrade. Whether you’re adding another monitor or replacing a damaged HDMI cable, a planned cable path saves time.
Plan Your Setup Before Routing Cables
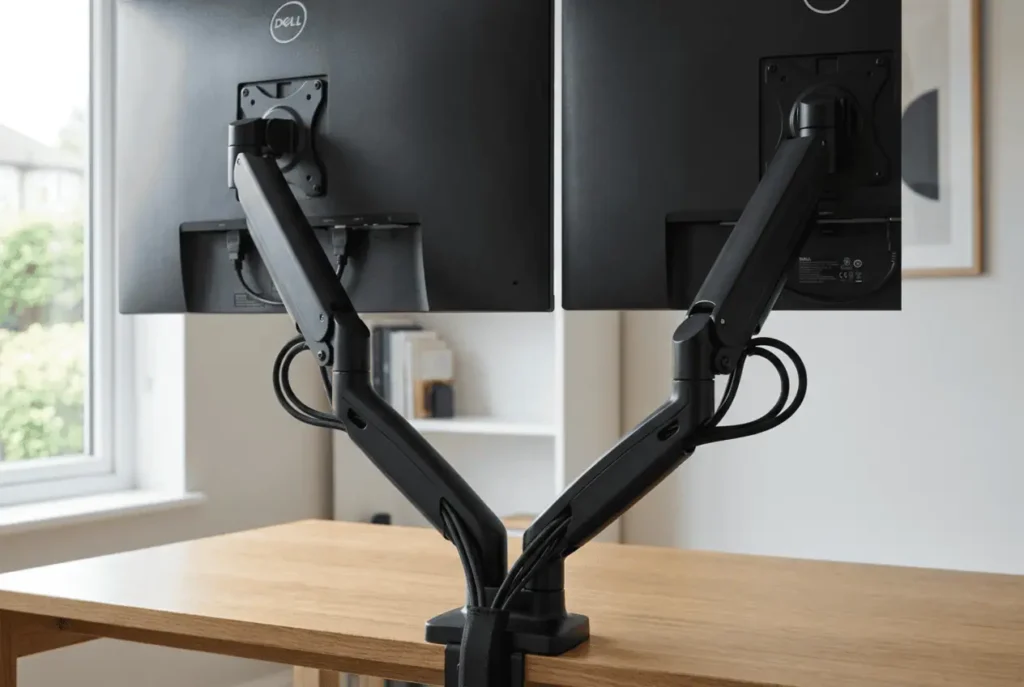
Many people connect everything first and think about cable management later. Planning your setup before routing cables saves time and helps prevent unnecessary cable clutter.
Choose the Right Monitor Layout
Your monitor layout determines how cables should be routed.
Common layouts include:
- Dual monitors side by side
- Triple monitor setup
- Ultrawide monitor with a second display
- Laptop with two external monitors
- Desktop PC with multiple displays
For example, a dual monitor home office usually needs a simple cable path, while a content creator may need space for a webcam, microphone, external SSD, and powered USB hub.
If you use a VESA monitor arm, install it before connecting cables so you can use the built-in cable channels.
Plan Your Cable Path Before Installation
Instead of routing one cable at a time, plan one main cable path for your setup.
Ask yourself:
- Which cables move with the monitor arm?
- Which cables stay under the desk?
- Which cables need quick access?
- Which cables can stay hidden?
- Where will cables enter and leave the cable tray?
Answering these questions first creates cleaner monitor cable routing and makes future changes much easier.
Measure the Cable Route, Not the Straight Distance
Measure the full cable path instead of the direct distance between your monitor and computer. Include the monitor arm or stand, the back of the desk, the cable tray, and the route to your docking station or power strip.
Good docking station cable organization also helps keep display, charging, and USB connections grouped together while reducing cable clutter.
Choose the shortest cable that still leaves enough slack for normal monitor movement. This reduces cable clutter without creating cable tension.
Leave Enough Slack for Moving Parts
If you use adjustable monitor arms or a standing desk, leave a small amount of extra cable length where movement happens.
Following good standing desk cable management practices helps prevent cables from stretching or snagging every time the desk moves.
This service loop allows HDMI, DisplayPort, USB-C, Ethernet, and monitor power cables to move freely without pulling on the connectors.
Leave only enough slack for the monitors to tilt, swivel, rotate, or move up and down comfortably.
Plan Where Your Main Devices Will Go
Before routing cables, decide where larger devices will sit.
Keeping your docking station, powered USB hub, desktop PC, and surge protector close together shortens cable runs and keeps the main cable bundle organized.
Proper USB hub cable management keeps connected peripherals organized while reducing the number of cables crossing your desk.
If you use a laptop every day, place the docking station where one USB-C or Thunderbolt cable can quickly connect and disconnect your workspace.
Cable Management Accessories You May Need
You do not need a large collection of products to organize a multi monitor setup. Start with a few accessories that match your desk layout and the number of cables you need to manage.
Cable Sleeves
Use a cable sleeve when several monitor cables follow the same path. It bundles HDMI, DisplayPort, USB, and monitor power cables into one clean group while making future upgrades easier.
Reusable Velcro Cable Ties
Choose reusable Velcro cable ties if your setup changes often. They bundle cables neatly and can be opened whenever you add another monitor or replace a cable.
Cable Clips
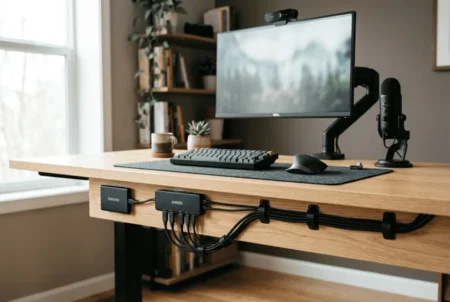
Install cable clips to hold individual cables such as USB charging, webcam, keyboard, or headphone cables. They keep frequently used cables within easy reach.
Under-Desk Cable Tray
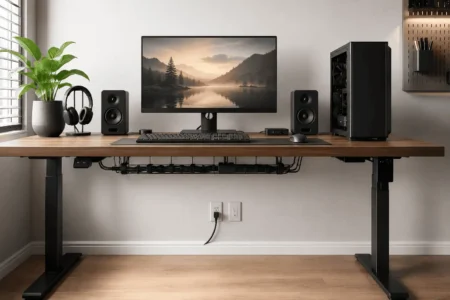
Mount an under-desk cable tray to hide cable bundles, power strips, surge protectors, and power bricks while keeping them easy to access.
Cable Raceway or Cable Conduit
Install a cable raceway when cables need to run down a desk leg, across a wall, or toward a floor outlet.
A J channel cable raceway is especially useful when you want to hide cables while still keeping them easy to access for future upgrades.
Cable Labels
Label both ends of monitor, power, and USB cables so you can quickly identify them during upgrades or troubleshooting.
Choose the Right Accessory for the Job
Each accessory has a different purpose.
- Use cable sleeves for groups of monitor cables.
- Use cable clips for single cables that need quick access.
- Use an under-desk cable tray for power strips, power bricks, and cable bundles.
- Use a cable raceway for cables running along desk legs or walls.
- Use a desk grommet to guide cables through the desktop.
- Use Velcro cable ties whenever you expect to add or remove cables later.
Choosing the right accessory creates a cable management system that is easier to expand and maintain.
How to Manage Multi Monitor Cables Step by Step
Once your desk is planned, you can begin routing cables. The goal is to create one organized cable path that keeps cables hidden, supported, and easy to access.
Step 1: Disconnect and Sort Every Cable
If your current setup is messy, disconnect everything first.
Separate cables into groups:
- Video cables
- Power cables
- USB cables
- Audio cables
- Network cables
Sorting cables helps you remove unused wires and makes the rest of the installation much easier.
Step 2: Install Monitor Arms or Position Monitor Stands
Install monitor arms before connecting cables.
Most VESA monitor arms include built-in cable channels that hide HDMI, DisplayPort, USB-C, and monitor power cables.
If you use monitor stands, place each monitor in its final position before routing cables.
Step 3: Route Video Cables First
Start with your display cables because they determine the main cable path.
Whether you use HDMI, DisplayPort, DisplayPort 2.1, USB-C, or Thunderbolt, route each cable through the monitor arm or behind the monitor stand before guiding it into the cable tray.
If your setup includes three or more monitors, keep each display cable separate until it reaches the main cable bundle. This makes it easier to identify, replace, or upgrade a single cable later.
Example of a Clean Cable Route
A simple cable path looks like this:
Monitor
↓
VESA monitor arm
↓
Cable sleeve
↓
Under-desk cable tray
↓
Docking station or desktop PC
↓
Surge protector or power strip
↓
Wall outlet
Following one planned cable route keeps cables organized, reduces cable tension, and makes future upgrades much easier.
Step 4: Route Power Cables
Bundle monitor power cables together before securing them inside the cable tray.
Keeping power and display cables in separate bundles is optional, but it makes cable routing cleaner and helps you identify cables more quickly during maintenance.
If several monitors share one surge protector, place the power adapters close together to reduce unnecessary cable length.
Step 5: Mount the Power Strip Under the Desk
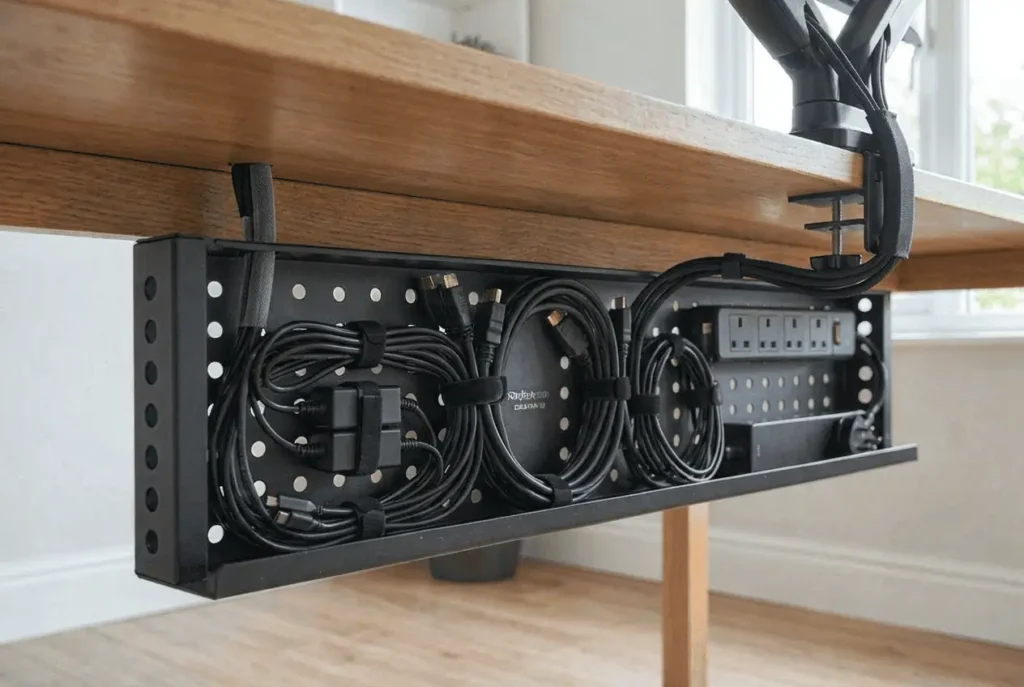
A power strip left on the floor creates unnecessary cable clutter.
Mount it underneath the desk near your:
- Desktop PC
- Docking station
- Powered USB hub
- Monitor power adapters
This shortens cable runs and keeps the floor clear.
Where Should the Docking Station and USB Hub Go?
Place your docking station or powered USB hub close to the devices you connect most often.
Good locations include:
- Under the center of the desk
- Behind the primary monitor
- Beside the desktop PC
- Near your laptop
Shorter USB-C, Thunderbolt, HDMI, and DisplayPort cables create a cleaner setup and make connecting your laptop much easier.
Step 6: Bundle the Main Cable Route
After every cable reaches the same path, secure them with reusable Velcro cable ties.
For longer cable runs, place the bundle inside a cable sleeve or cable raceway.
Do not tighten the bundle too much. Every cable should move freely without creating cable tension.
Step 7: Test Monitor Movement
Before finishing the installation, move every monitor through its full range of motion.
Check that each monitor can:
- Tilt
- Swivel
- Rotate
- Raise
- Lower
If a cable becomes tight, adjust the service loop before securing the final cable ties.
Testing the setup now helps prevent cable strain and keeps your monitor cable routing working as expected.
Cable Management for Different Multi Monitor Setups
The best way to manage monitor cables depends on your desk setup. A home office, gaming desk, or creator workspace may use different equipment, but the same cable management principles apply.
Keep one main cable path, support moving cables, and make frequently used devices easy to reach.
Home Office Dual Monitor Setup
A home office dual monitor setup is one of the most common desk cable management layouts for office professionals and remote workers.
Most setups include:
- Two monitor power cables
- Two HDMI or DisplayPort cables
- Keyboard and mouse
- Laptop or desktop PC
- Docking station or USB hub
Route both monitor cables through the monitor arms or behind the monitor stands before guiding them into an under-desk cable tray. Mount the power strip below the monitors to shorten cable runs and reduce clutter.
Triple Monitor Workstation
A triple monitor setup creates more cables but follows the same cable routing process.
Guide each monitor cable toward one main cable bundle before connecting it to your desktop PC or Thunderbolt dock.
Leave enough slack for monitor movement and label each HDMI or DisplayPort cable to make future upgrades easier.
This setup works well for developers, analysts, designers, and traders who work across multiple displays.
Laptop with External Monitors
Many remote workers use a laptop with two external monitors connected through a docking station.
Keep the docking station close to the laptop so a single USB-C or Thunderbolt cable connects your workspace.
A typical connection looks like this:
- Laptop
- Docking station
- Monitors
- Keyboard
- Mouse
- USB hub
- Ethernet
This keeps your desk organized while making it easy to disconnect your laptop.
Standing Desk Setup
A standing desk needs extra attention because the entire desk moves.
Leave a small service loop near the monitor arms and secure the main cable bundle to the desk frame instead of letting cables hang freely.
Before finishing, raise and lower the desk several times to make sure every cable moves smoothly.
Gaming Setup
Gaming setups often include extra devices such as RGB lighting, speakers, gaming headsets, microphones, and console cables.
If your setup includes desktop speakers, hiding speaker wires separately can make the workspace look much cleaner while reducing visible cable clutter.
Keep these accessories in a separate cable bundle from your monitor and power cables. This keeps your desk cleaner and makes future upgrades or troubleshooting much easier.
Content Creator Workspace
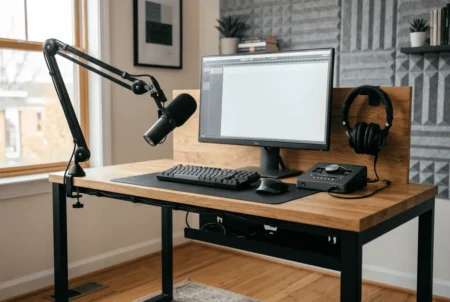
Content creators often connect cameras, microphones, audio interfaces, Stream Decks, external SSDs, and card readers.
Place these devices near your docking station or powered USB hub to shorten cable runs and keep your workspace organized as you add more equipment.
Monitor Arm or Monitor Stand?
Both options work, but monitor arms usually provide better cable management.
Most VESA monitor arms include built-in cable channels that hide HDMI, DisplayPort, USB-C, and monitor power cables while allowing the monitor to move freely.
Monitor stands work well for fixed desks, but more cables usually remain visible behind the display.
Desktop and Laptop with a KVM Switch
If you use both a desktop PC and a laptop with the same monitors, keyboard, and mouse, a KVM switch can simplify your setup.
Place the KVM switch near your docking station or desktop PC to keep monitor and USB cables short. This creates one organized cable path instead of several separate cable bundles.
Common Cable Management Mistakes
Small mistakes can make even a good setup difficult to manage. Avoid these common problems when organizing your monitor cables.
Buying Cables That Are Too Long
Long cables create unnecessary loops behind the desk and fill your cable tray with extra clutter.
Measure the full cable route before buying HDMI, DisplayPort, USB-C, Ethernet, or monitor power cables.
Mixing Every Cable Together
Putting every cable inside one large sleeve makes upgrades harder.
Instead, keep cables in smaller groups:
- Video cables
- Power cables
- USB cables
- Audio cables
- Network cables
This makes cable access much easier when replacing or adding devices.
Using Plastic Zip Ties Everywhere
Plastic zip ties work well for permanent installations but are difficult to remove.
Reusable Velcro cable ties are a better choice because they let you adjust your setup without cutting every cable tie.
Forgetting to Label Cables
Many monitor cables look the same once they disappear behind the desk.
Label both ends of each cable so you can quickly identify the correct monitor, docking station, or USB connection during maintenance.
Keep Your Multi Monitor Setup Organized
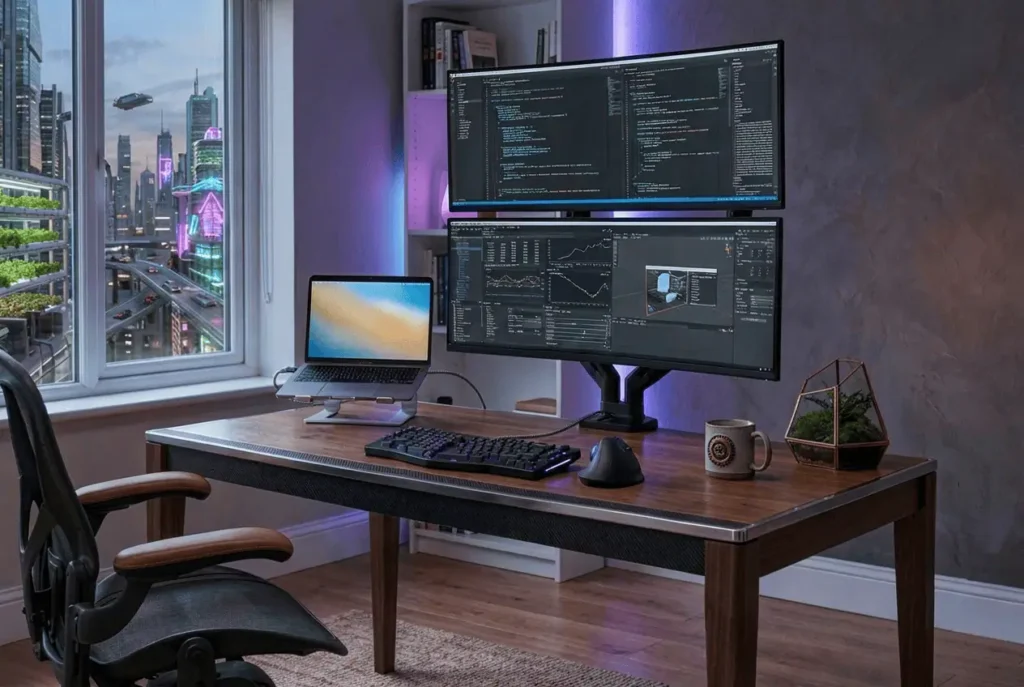
Cable management does not end after installation.
When adding another monitor, replacing a docking station, or installing a new USB hub, follow the same cable path instead of creating a new one.
Clean your cable tray occasionally, check that Velcro cable ties are still secure, and leave a little free space inside your cable sleeve or cable tray for future upgrades.
A simple cable management system is easier to maintain and grows with your workspace.
Conclusion
Good multi monitor cable management is about creating a workspace that is clean, organized, and easy to use every day. By planning your cable routes, using the right cable management accessories, and keeping cables supported, you can reduce clutter, protect your equipment, and simplify future upgrades. Whether you have two monitors or more, a well-organized setup helps your desk stay functional, tidy, and ready for new devices whenever you need them.
FAQs
How many cables does a typical dual monitor setup need?
A basic dual monitor setup usually includes two display cables, two monitor power cables, a keyboard, a mouse, and one or more USB or charging cables. If you use a docking station or speakers, you may have additional cables to organize.
Is it safe to bundle monitor power cables and display cables together?
Yes, it is generally safe for most home and office setups. However, keeping power and display cables in separate bundles can make cable routing cleaner and make it easier to identify or replace individual cables later.
How often should I reorganize my monitor cables?
You do not need to reorganize cables often. Check your cable management whenever you add a new device, replace a monitor, or notice loose cables. A quick inspection every few months is usually enough to keep everything organized.
Can wireless keyboards and mice reduce cable clutter?
Yes. Using wireless peripherals removes two cables from your desk, making cable management easier while reducing visible desktop clutter.
However, monitors still require power and display cables, so wireless peripherals only reduce part of the cable clutter.
Should I replace old monitor cables during cable management?
If your HDMI, DisplayPort, USB-C, or power cables are damaged, loose, or too short for your setup, replacing them while organizing your desk is a good idea. Using the correct cable length also helps create a cleaner and more reliable setup.